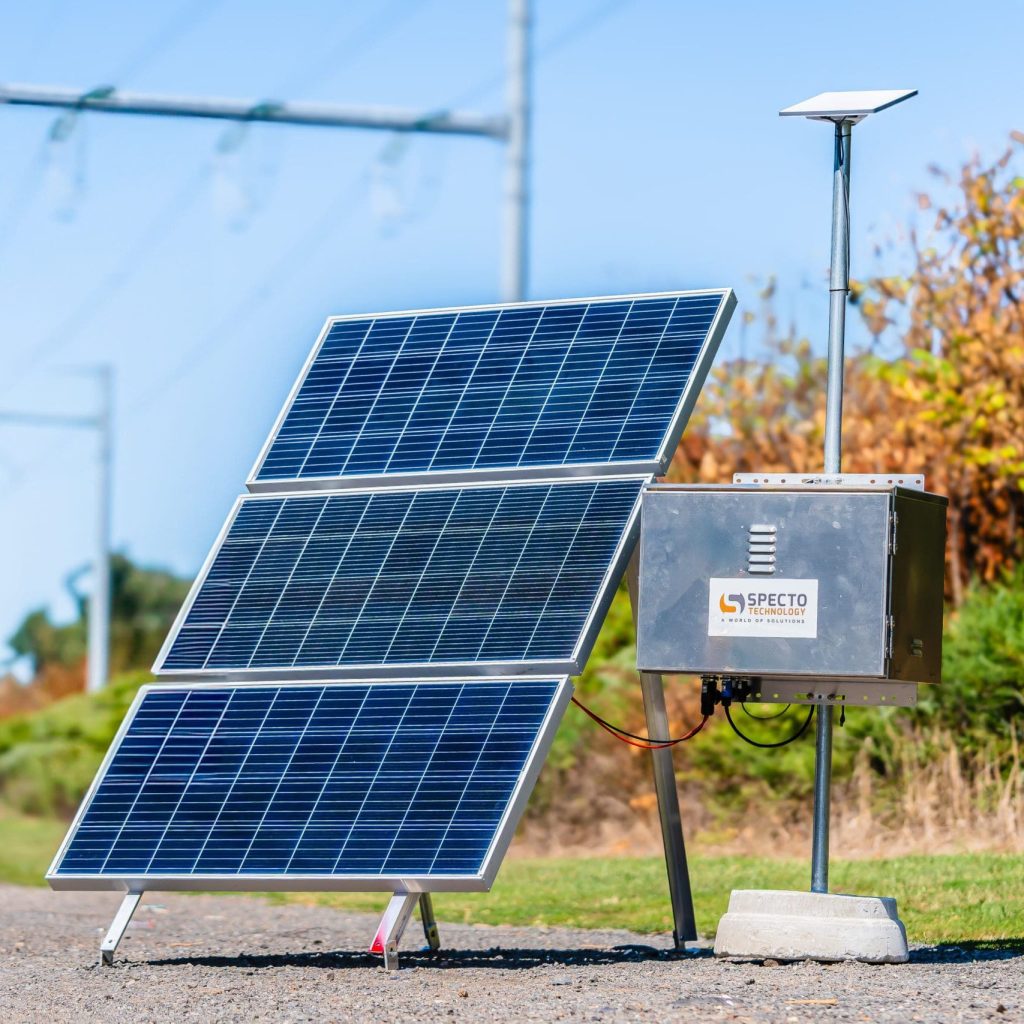
Starlink is the first satellite internet system that actually makes sense off-grid – but only if you solve the power problem. Out of the box, every dish expects wall AC via its power brick, and that brick wastes **15-30% of your battery bank** as inverter heat. This guide covers the real consumption numbers for the **Gen 2**, **Gen 3**, and **Mini**, then walks through DC conversion, battery sizing, and solar array planning that keeps you online for days, not hours.
Quick Summary / Top Recommendations
| Product | Best For | Key Features | Price |
|---|---|---|---|
 | Best Overall - 12V DC Conversion Kit (Gen 2/Gen 3) |
| Check Price on Amazon |
| Best for Solar - 200W Folding Panel Kit |
| Check Price on Amazon |
 | Best Plug-and-Play - 1000Wh Power Station |
| Check Price on Amazon |
Step 1: Know Your Real Consumption
Starlink publishes “100W average” for the Standard dish, but our logging shows real numbers vary hugely by mode and weather. Measure with a USB-C power meter (Mini) or a DC clamp meter (converted dishes) for a week before sizing anything.
| Dish | Typical Draw | Peak | Daily Wh (24 h, no Snow Melt) |
|---|---|---|---|
| Gen 2 Standard | **50-75 W** | ~100-150 W | **1,400-1,800 Wh** |
| Gen 3 Standard | **75-100 W** | ~110 W | **1,900-2,400 Wh** |
| Gen 3 + Snow Melt | **up to 180 W** | ~200 W | **3,500+ Wh** |
| Mini | **25-40 W** | ~60 W | **600-960 Wh** |
The Mini’s efficiency is the story here: it needs roughly **one-third** the energy of a Standard dish. If your connectivity needs are email, maps, and streaming-lite, a Mini plus a modest battery beats a converted Standard rig on cost and weight.
Step 2: Kill the Inverter – Go DC
Running the stock AC brick off a battery bank means: battery (12V) → inverter (85-90% efficient) → brick (85-90% efficient) → dish. Two conversion stages stack losses. The fix:
Gen 2 and Gen 3 Standard: DC Conversion Kits
The dish is powered over its proprietary cable at roughly **48-56 V DC**. Aftermarket conversion harnesses pair a **12V-to-48/54V boost converter (4-8 A)** with a plug that mates to the Starlink connector, or splice instructions for hard-wiring. Done properly you skip both conversion stages and save roughly **30%** – on a Gen 3, that is **600+ Wh per day**, a meaningful slice of a 200W solar day. Full wiring walkthrough in the step-by-step 12V conversion guide.
Mini: Trivially Easy
The Mini charges over **USB-C Power Delivery – 60 W minimum, 100 W recommended**. Any 12V socket PD charger rated 100W works. That single fact makes the Mini the default choice for vehicles and small battery systems.
Step 3: Size the Battery
Formula: (Daily Wh ÷ 12.8 V) × 1.25 safety margin = required Ah. Real-world examples with LiFePO4 (usable ~80% depth of discharge):
| Setup | Daily Need | Recommended Bank | Runtime Goal |
|---|---|---|---|
| Mini, light use | ~700 Wh | **100 Ah (1,280 Wh)** | 36+ hours |
| Gen 3, converted, 24 h | ~2,100 Wh | **200 Ah (2,560 Wh)** | 29 hours |
| Gen 3, unconverted (inverter) | ~2,700 Wh | **300 Ah (3,840 Wh)** | 28 hours |
Note what conversion buys you: the same 24 hours of Gen 3 uptime on **100 Ah less** battery – about **$300-400** at current LiFePO4 prices.
Step 4: Solar Recharge Math
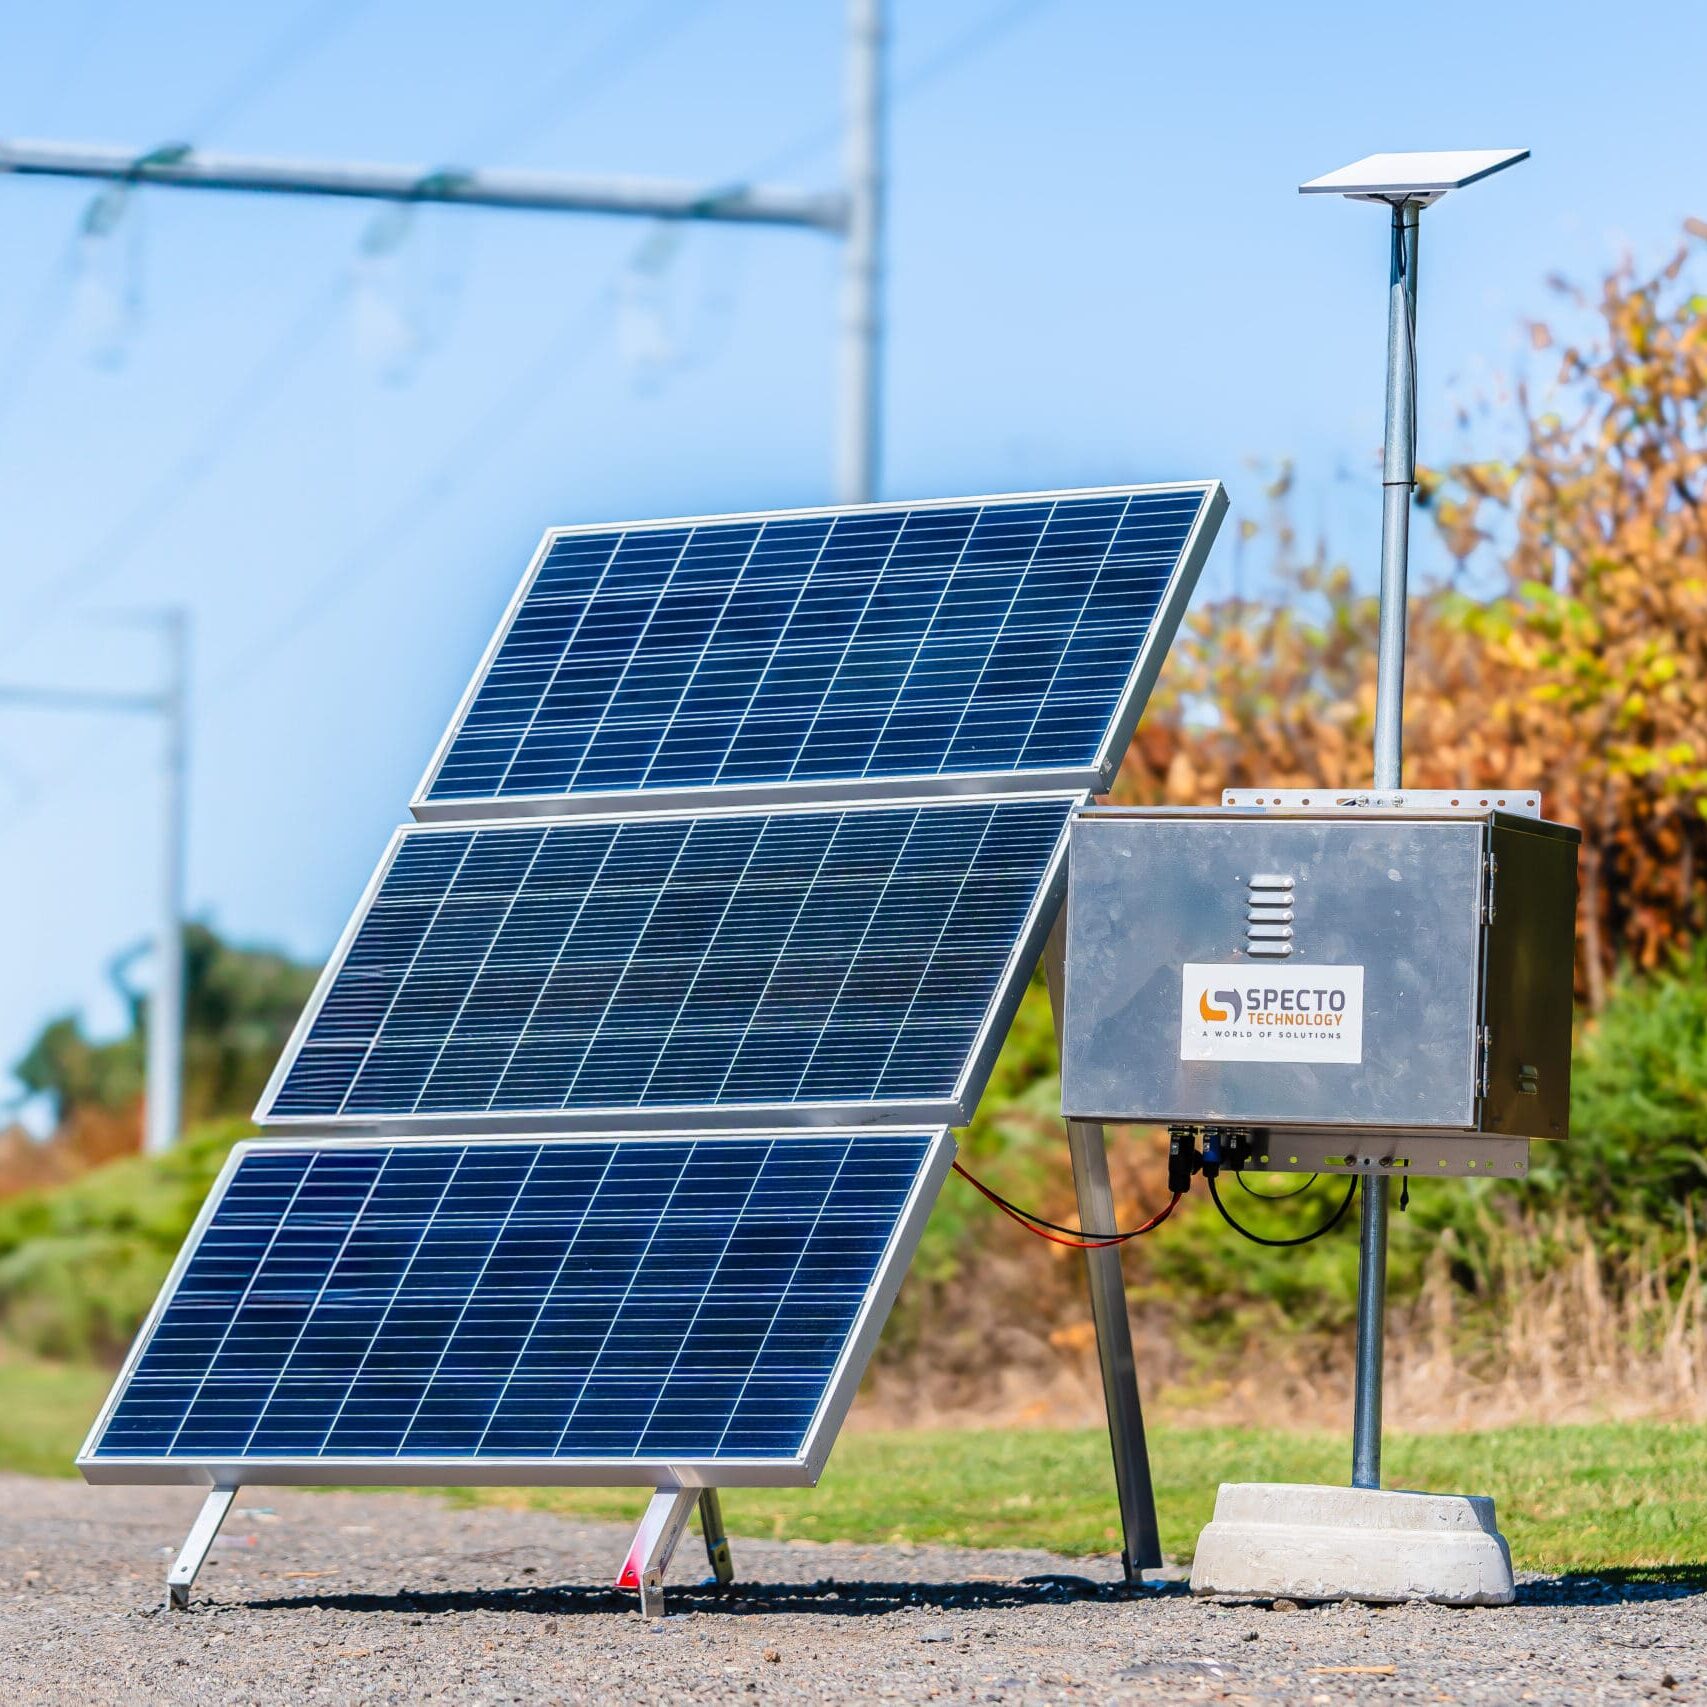
US average: a panel produces its rated wattage for roughly **4 peak sun hours/day** (more in the Southwest, less in the Pacific Northwest). A **200W folding array** yields ~800 Wh/day in decent conditions – enough to fully support a converted Gen 3 only with a large bank and rationing, and enough to run a Mini indefinitely. The realistic pairings:
- Mini: 100W panel + 100 Ah bank = self-sufficient.
- Gen 3 converted: 200-400W panels + 200 Ah bank = full days, generator/alternator charging for cloudy streaks.
- Gen 3 unconverted: add ~25% to everything above, or accept shorter autonomy.
Step 5: Pick the Hardware
For plug-and-play simplicity, a **1,000 Wh power station** with pure sine output runs an unconverted Gen 3 for 10-12 hours and recharges from the same solar panel – our power station roundup tests the EcoFlow/Jackery/Anker field. For a permanent install, a DIY LiFePO4 bank with DC conversion beats every power station on cost per Wh. Whichever route, verify connectors and current draw against the compatibility matrix before ordering.