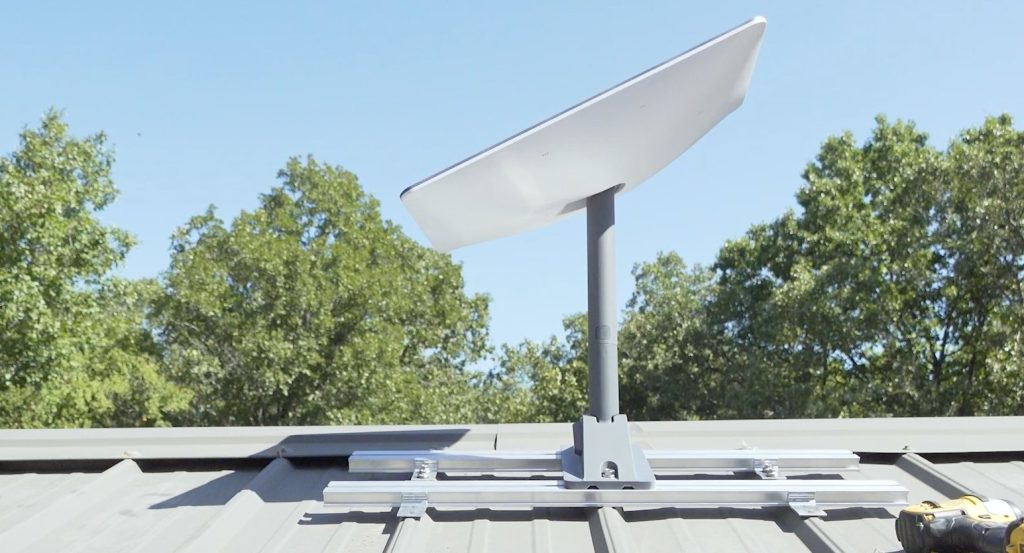
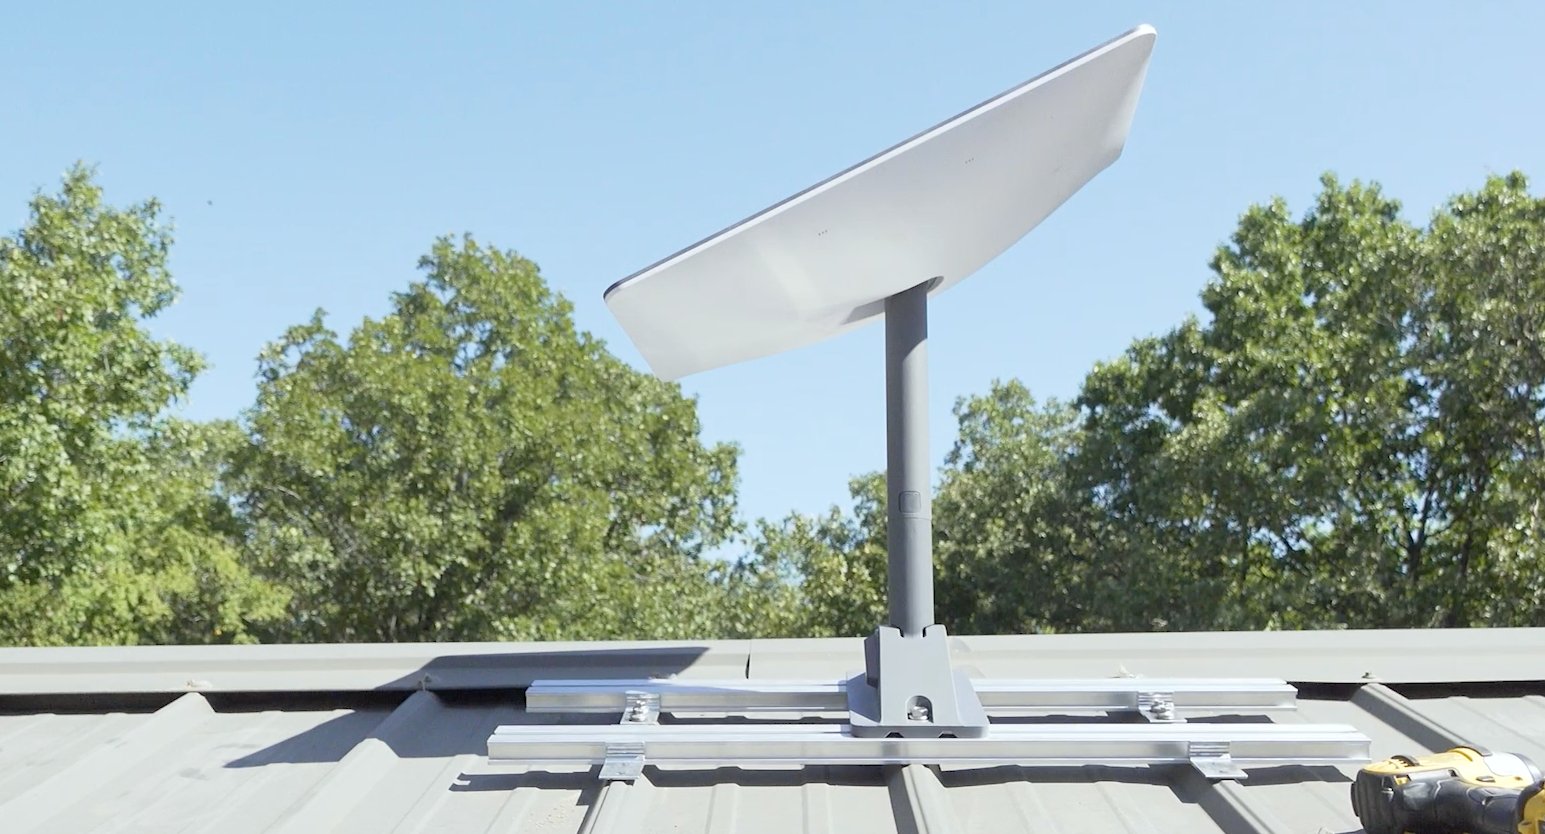
A standing seam metal roof is the ideal host for a Starlink dish: it is structural, fireproof, and lasts 50 years – and you can mount a Standard dish to it **without drilling a single hole**. The catch is that the dish needs the right clamp geometry: the **Gen 2** hangs off a 1.375 in mast stub, the **Gen 3** bolts to a kickstand plate or Pipe Adapter, and both are heavy enough (**9-13 lb**) that clamp torque and seam strength matter. Here is how to do it right, based on five kits we tested through 200 freeze-thaw cycles.
Quick Summary / Top Picks
| Product | Best For | Key Features | Price |
|---|---|---|---|
| Best Overall - Standing Seam Clamp + Pipe Adapter |
| Check Price on Amazon |
 | Best for Corrugated Roofs - Rib Clamp Kit |
| Check Price on Amazon |
 | Best for Mini - Magnetic Base on Steel Roof |
| Check Price on Amazon |
Why No-Drill Beats Penetration on Metal Roofs
Drilling through a metal roof means penetrating the paint system, which is the roof’s corrosion armor. Every screw hole is a future rust spot, and on standing seam systems it can void the roof warranty outright. Seam clamps avoid all of it: they grip the vertical seam mechanically, spread load across **0.5-0.9 in** of seam width, and leave the waterproofing untouched. When you sell the house, you unclamp and take the dish with you.
What We Tested
1. Dedicated Standing Seam Clamps (The Right Answer for Standard Dishes)
The winning kits use **6061 aluminum** bodies with stainless set screws and EPDM pads, torqued to **30-40 ft-lb** on the seam. Attach either the Starlink **Gen 3 Pipe Adapter** (which accepts 1.25-2 in masts) or a short mast cradling the Gen 2 stub. After **200 freeze-thaw cycles** and one season of **60+ mph** gusts, none of the proper kits slipped; one budget kit lost torque after the EPDM pads compressed permanently.
- Seam check: seams must be **24-gauge or heavier** steel or 0.032 in aluminum. Thin snap-lock seams can deform under clamp load.
- Placement: clamp near a seam hem or structural clip location, never mid-span on long seams.
2. Corrugated / Trapezoidal Rib Clamps
Ag-panel and corrugated roofs need U-bolt style rib clamps with **EPDM isolation pads**. The pads matter twice over: they grip the rounded rib without crushing it, and they isolate aluminum clamps from steel ribs to prevent **galvanic corrosion**. Torque U-bolts snug, not gorilla-tight – the pad should compress, not the rib.
3. Magnetic Bases (Mini and Fair-Weather Gen 3)
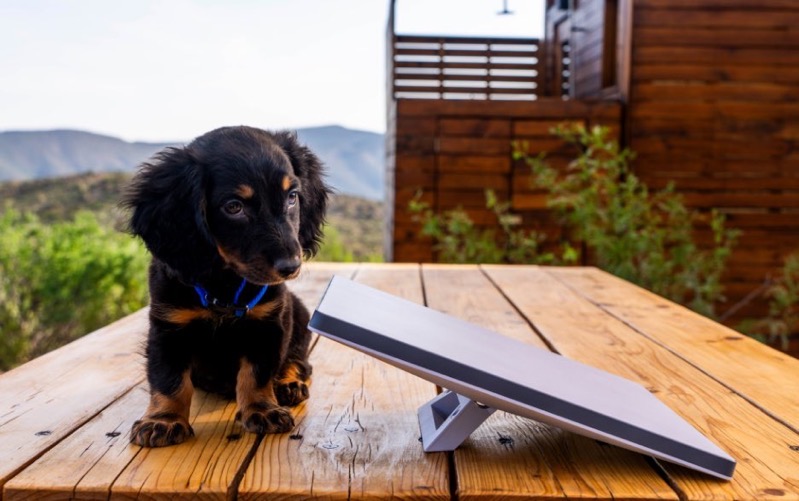
The Mini (**2.7 lb**) is the perfect magnet-mount candidate: a **65+ lb pull** magnetic base holds it through 40 mph gusts on a steel roof. A Gen 3 on a magnet base is acceptable for a calm weekend test but not for permanent service – the dish’s sail area will lever it loose in a storm.
4. What NOT to Buy
- Adhesive “no-drill” pads: epoxy and VHB tapes fail on hot metal roofs – surface temps of **150°F** in summer soften every construction adhesive we tested.
- TV-antenna chimney straps: wrong geometry, no dish cradle, and chimneys are the worst wind zone on the house.
- Plastic/nylon clamps: UV degradation within two seasons. Metal only.
Installation Walkthrough (Standing Seam + Gen 3)
- Scan first: run the obstruction checker in the Starlink app from the planned mount point before lifting any hardware.
- Find structure: locate a seam over a roof plane, ideally near a structural clip. Confirm seam gauge.
- Mount the clamp: seat the clamp on the seam, torque to **30-40 ft-lb**, verify the EPDM pads are evenly compressed.
- Attach the mast: thread the Gen 3 Pipe Adapter into the clamp’s mast socket; for Gen 2, use a cradle sized for the **1.375 in** stub.
- Set pitch: the Gen 3’s **110° field of view** forgives imperfect tilt, but start around **30-40 degrees** elevation in mid-latitudes.
- Route the cable: the proprietary connector is too wide for standard glands – follow our cable pass-through guide and leave a drip loop.
- Verify: check the app for obstruction warnings and run a speed test before final-torquing everything.
Snow Country Notes
Metal roofs shed snow – which is exactly when dishes get avalanched. Mount above the expected snow-pack line, and enable **Snow Melt** in the app (be aware it roughly **doubles power draw**; off-grid users should read the 12V DC conversion guide before enabling it). A tilted mount that sheds snow naturally beats a flat one that collects it.
Bottom Line
For a permanent Gen 2 or Gen 3 install on a standing seam roof, a quality seam clamp plus the Starlink Pipe Adapter is stronger, cleaner, and warranty-safer than drilling. Budget **$60-120** for the clamp and mast hardware. If you run a Mini, a magnetic base covers 90% of situations. Confirm your dish generation against the Gen 2 / Gen 3 / Mini compatibility matrix before ordering.