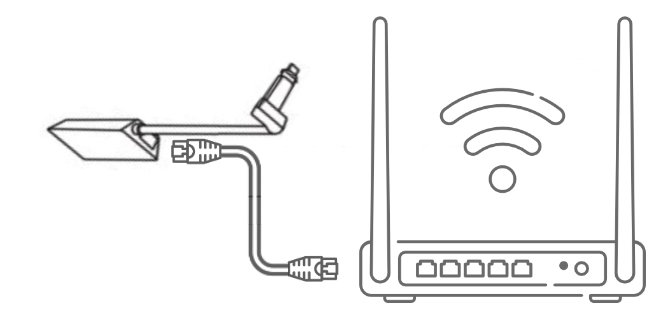
The stock Starlink router will cover a small apartment and not much else. If you live in a big house, a shop with metal walls, or you want wired backhaul and proper VLANs, the fix is bypass mode plus a real mesh system. But the path differs by hardware generation: Gen 2 needs the **Ethernet Adapter**, Gen 3 has Ethernet built into its router, and the Mini has no external antenna port at all. We benchmarked TP-Link Deco against Netgear Orbi on a live Starlink connection – here is what to buy and how to wire it.
Quick Summary / Top Picks
| Product | Best For | Key Features | Price |
|---|---|---|---|
| Best Overall - WiFi 6 Mesh 3-Pack |
| Check Price on Amazon |
 | Best for Gen 2 - Ethernet Adapter + Mesh |
| Check Price on Amazon |
| Best Wired Backhaul - Tri-Band Mesh Kit |
| Check Price on Amazon |
Step 1: How Bypass Mode Works on Each Generation
Gen 2 Standard
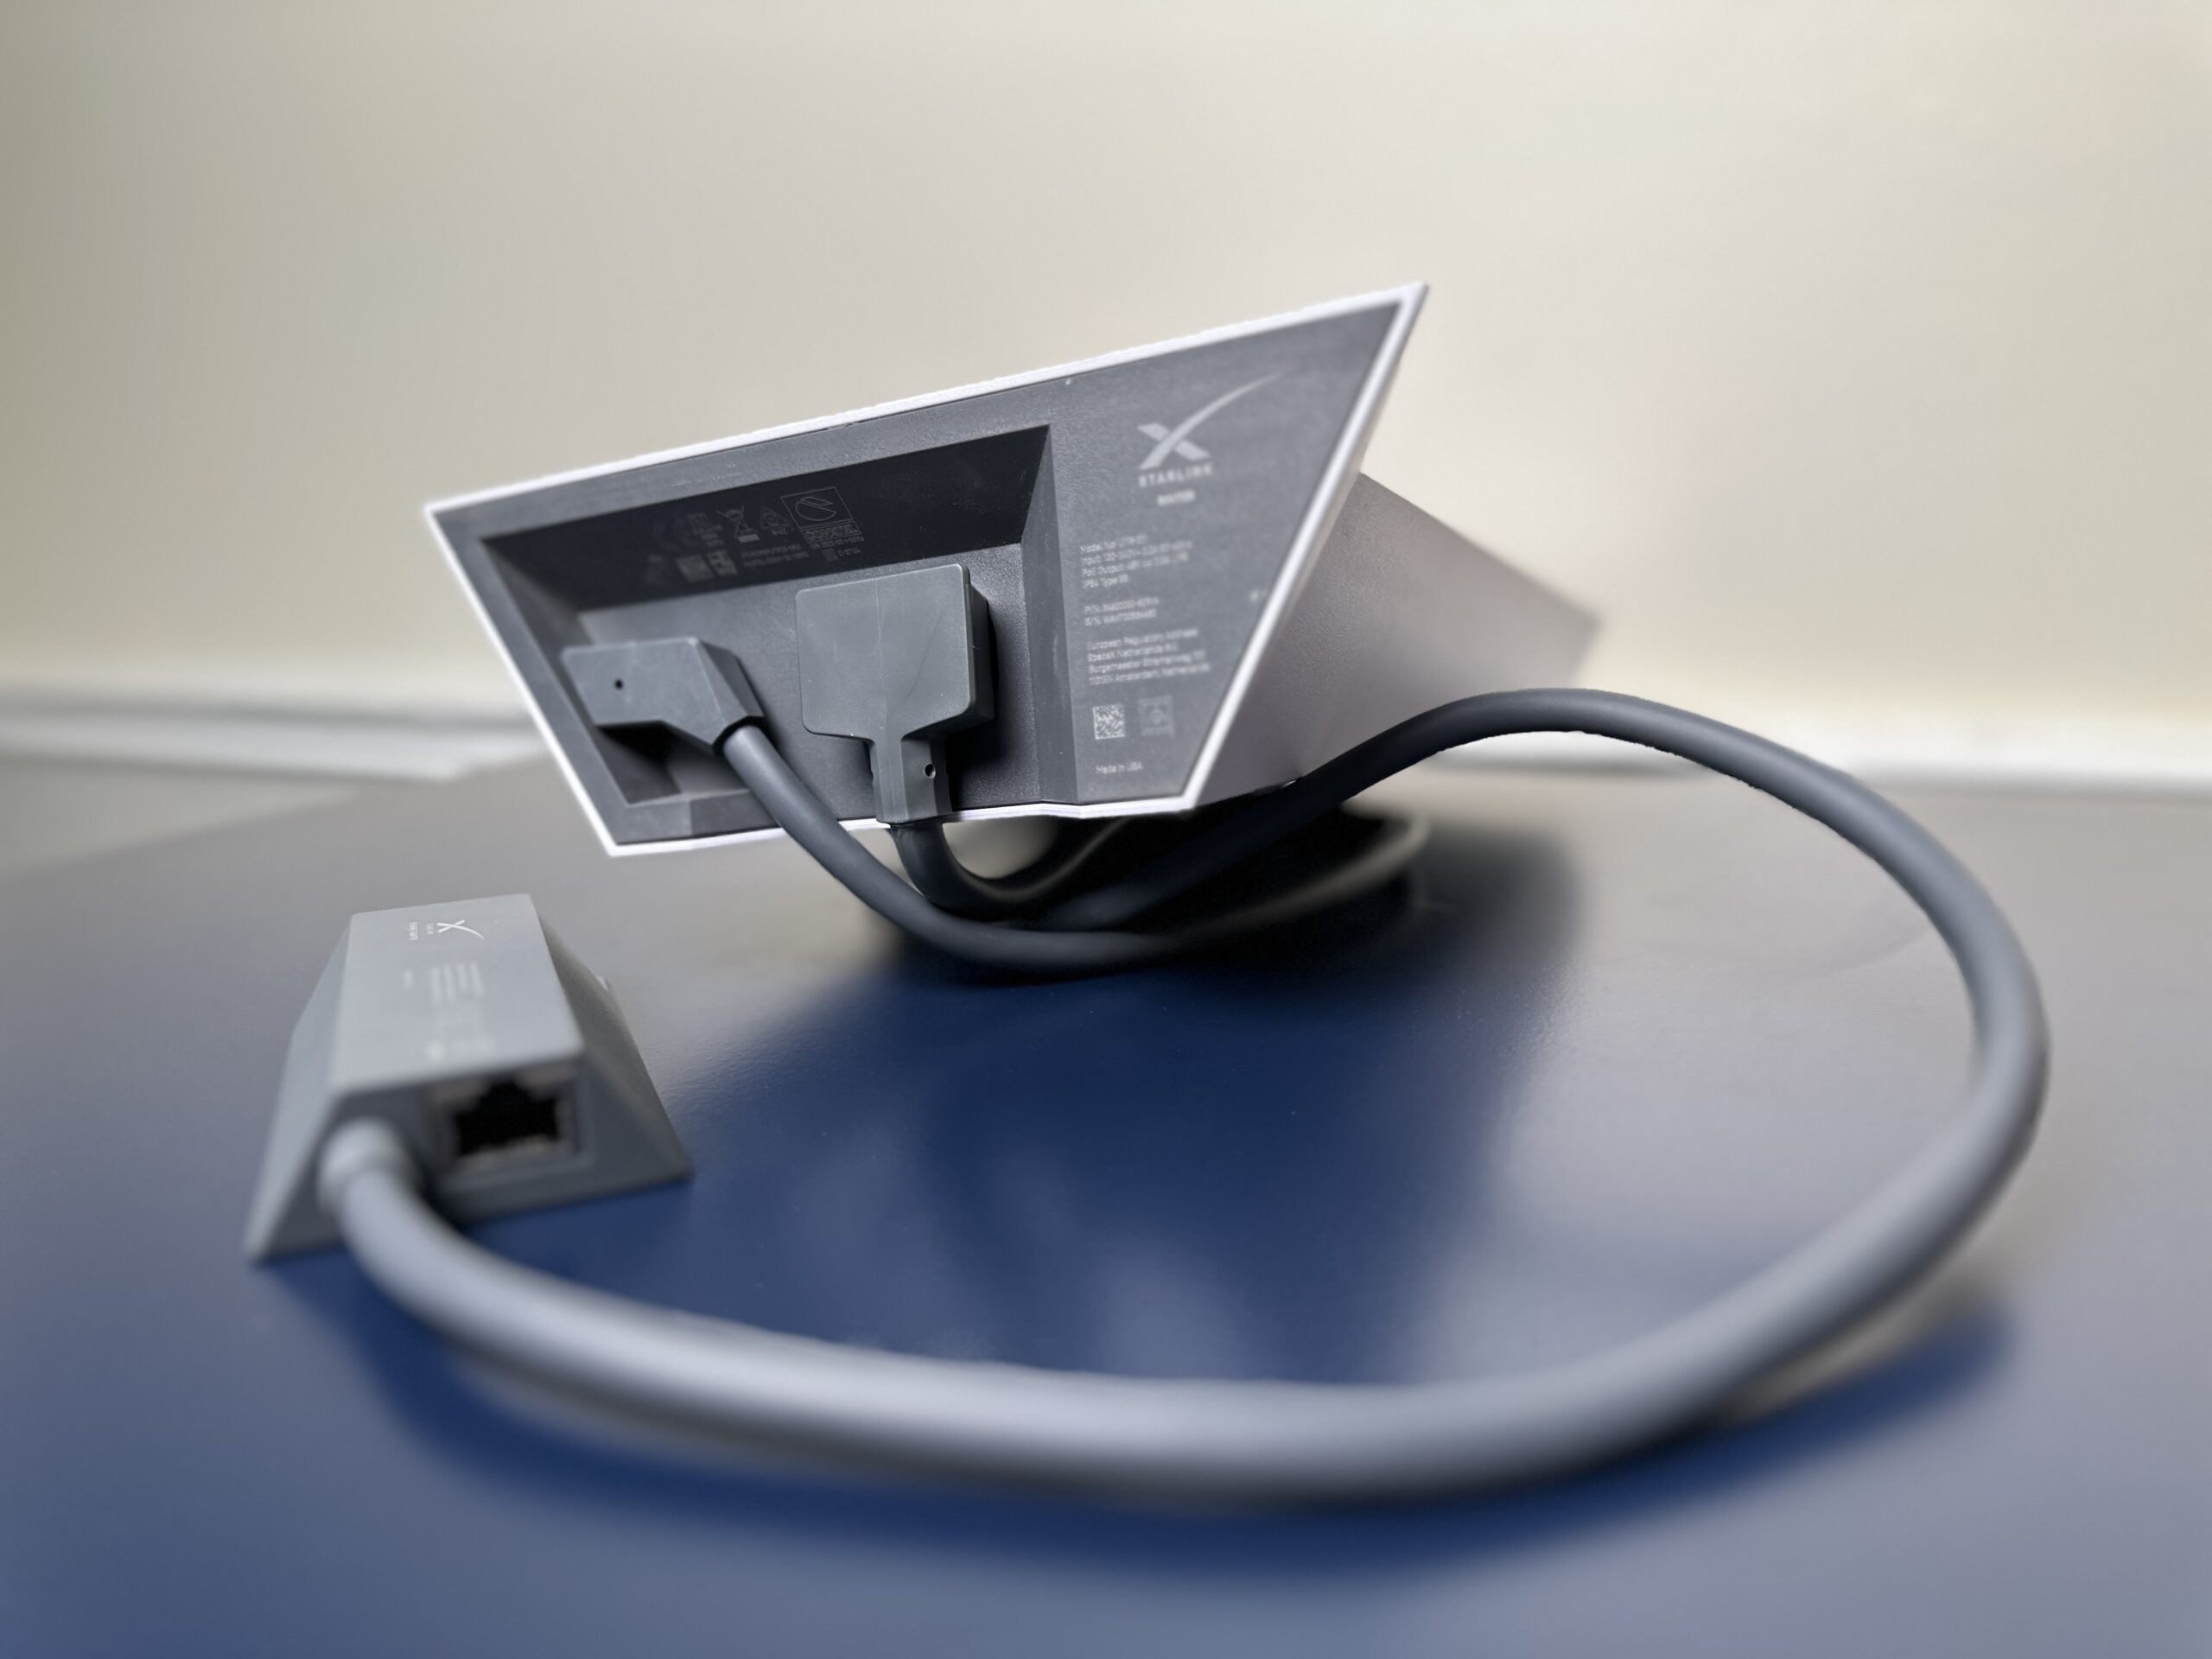
Buy the official **Ethernet Adapter** (~$25) – it plugs between the router and dish side and exposes two LAN ports. Plug your mesh’s primary node into a LAN port. You can leave the Starlink router’s WiFi on (double network) or power it down and let the dish run headless through the adapter. This is the only route to a third-party router on Gen 2.
Gen 3 Standard
Easier: the Gen 3 router has an Ethernet port. Plug your mesh primary node into the **Gen 3 router’s LAN port** and set the mesh to router mode – or run “bypass” by connecting the Starlink cable to the Gen 3 router and treating it purely as a power/PoE brick, then using the port for your own router. Either topology works; the second is cleaner for advanced users (VLANs, QoS, static leases).
Mini
The Mini’s router is integrated and **there is no Ethernet port on the dish itself**. Options: use the Mini’s built-in WiFi as-is (fine for one RV), or connect the Mini’s WiFi to a travel router in bridge mode for extra ports. Bypass mode in the classic sense is not available.
Step 2: What Bypass Mode Does NOT Fix
Set expectations before spending $300 on mesh gear:
- CGNAT remains. Starlink puts you behind carrier-grade NAT; a new router does not give you a public IP. Port forwarding for game servers and self-hosting still needs workarounds (or Starlink’s public IP option where offered).
- Latency stays satellite. Mesh WiFi improves coverage, not the physics of orbit. Expect the same 25-60 ms on LEO service.
- Your WAN bandwidth is unchanged. Good mesh gear removes WiFi as the bottleneck; it cannot add throughput Starlink does not deliver.
Step 3: TP-Link Deco vs Netgear Orbi – Benchmarks
Test setup: 1970s two-story house (~2,800 sq ft), dish outside, primary node wired to the bypass connection, two satellite nodes. Speeds are WiFi-to-node throughput measured on the Starlink connection’s good days.
| Test | Deco XE75 (3-pack) | Orbi RBK763 |
|---|---|---|
| Same-room throughput | **420-460 Mbps** | **440-480 Mbps** |
| Far corner (2 walls + floor) | **180-220 Mbps** | **200-240 Mbps** |
| Wired backhaul, far node | **350+ Mbps** | **380+ Mbps** |
| Setup & app UX | Excellent, 15 min | Good, 25 min |
| Devices stable over 72 h | 38 devices, zero drops | 38 devices, one reconnect |
Verdict: both fully saturate what Starlink delivers. The Deco wins on setup speed and price-per-node; the Orbi edges it on raw far-corner throughput thanks to its dedicated backhaul. If you can run Ethernet between nodes, buy whichever is cheaper – wired backhaul makes both excellent. If you cannot wire, the tri-band Orbi’s backhaul band matters more.
Step 4: Configuration Tips for Starlink Connections
- Run the mesh as the DHCP router (bypass the Starlink router) so device-to-device flows like casting and printers behave.
- Enable the mesh’s auto-reconnect: Starlink’s WAN drops for seconds at a time during handovers; routers that recover sessions gracefully (both tested kits do) hide it.
- Put the primary node near the cable entry, not where the old router was out of habit.
- Disable the Starlink WiFi to stop band-steering confusion, unless you want it as a guest SSID.
Bottom Line
Gen 2 owners: Ethernet Adapter + 3-node WiFi 6 mesh (~$280 total) is the single best experience upgrade for this hardware. Gen 3 owners: your router already speaks Ethernet, so ~$250 of mesh is all it takes. And if your goal was actually more throughput or a public IP, no router will do it – check the compatibility matrix for what each generation supports, and our accessories pillar guide for where that money is better spent.