
The stock Starlink power brick is the single biggest energy waste in an off-grid setup: it takes your 12V battery, converts it to AC through an inverter, and the dish immediately converts the AC back to DC internally – burning **15-30% of every watt-hour** as heat in the round trip. This guide walks through the actual conversion: what voltage the dishes really run on, which boost converter and harness to buy for the **Gen 2** and **Gen 3**, and why the **Mini** needs nothing more than a USB-C PD cable.

Quick Summary / Top Picks
| Product | Best For | Key Features | Price |
|---|---|---|---|
| Best Overall - Plug-In 12V-to-48V Conversion Harness |
| Check Price on Amazon |
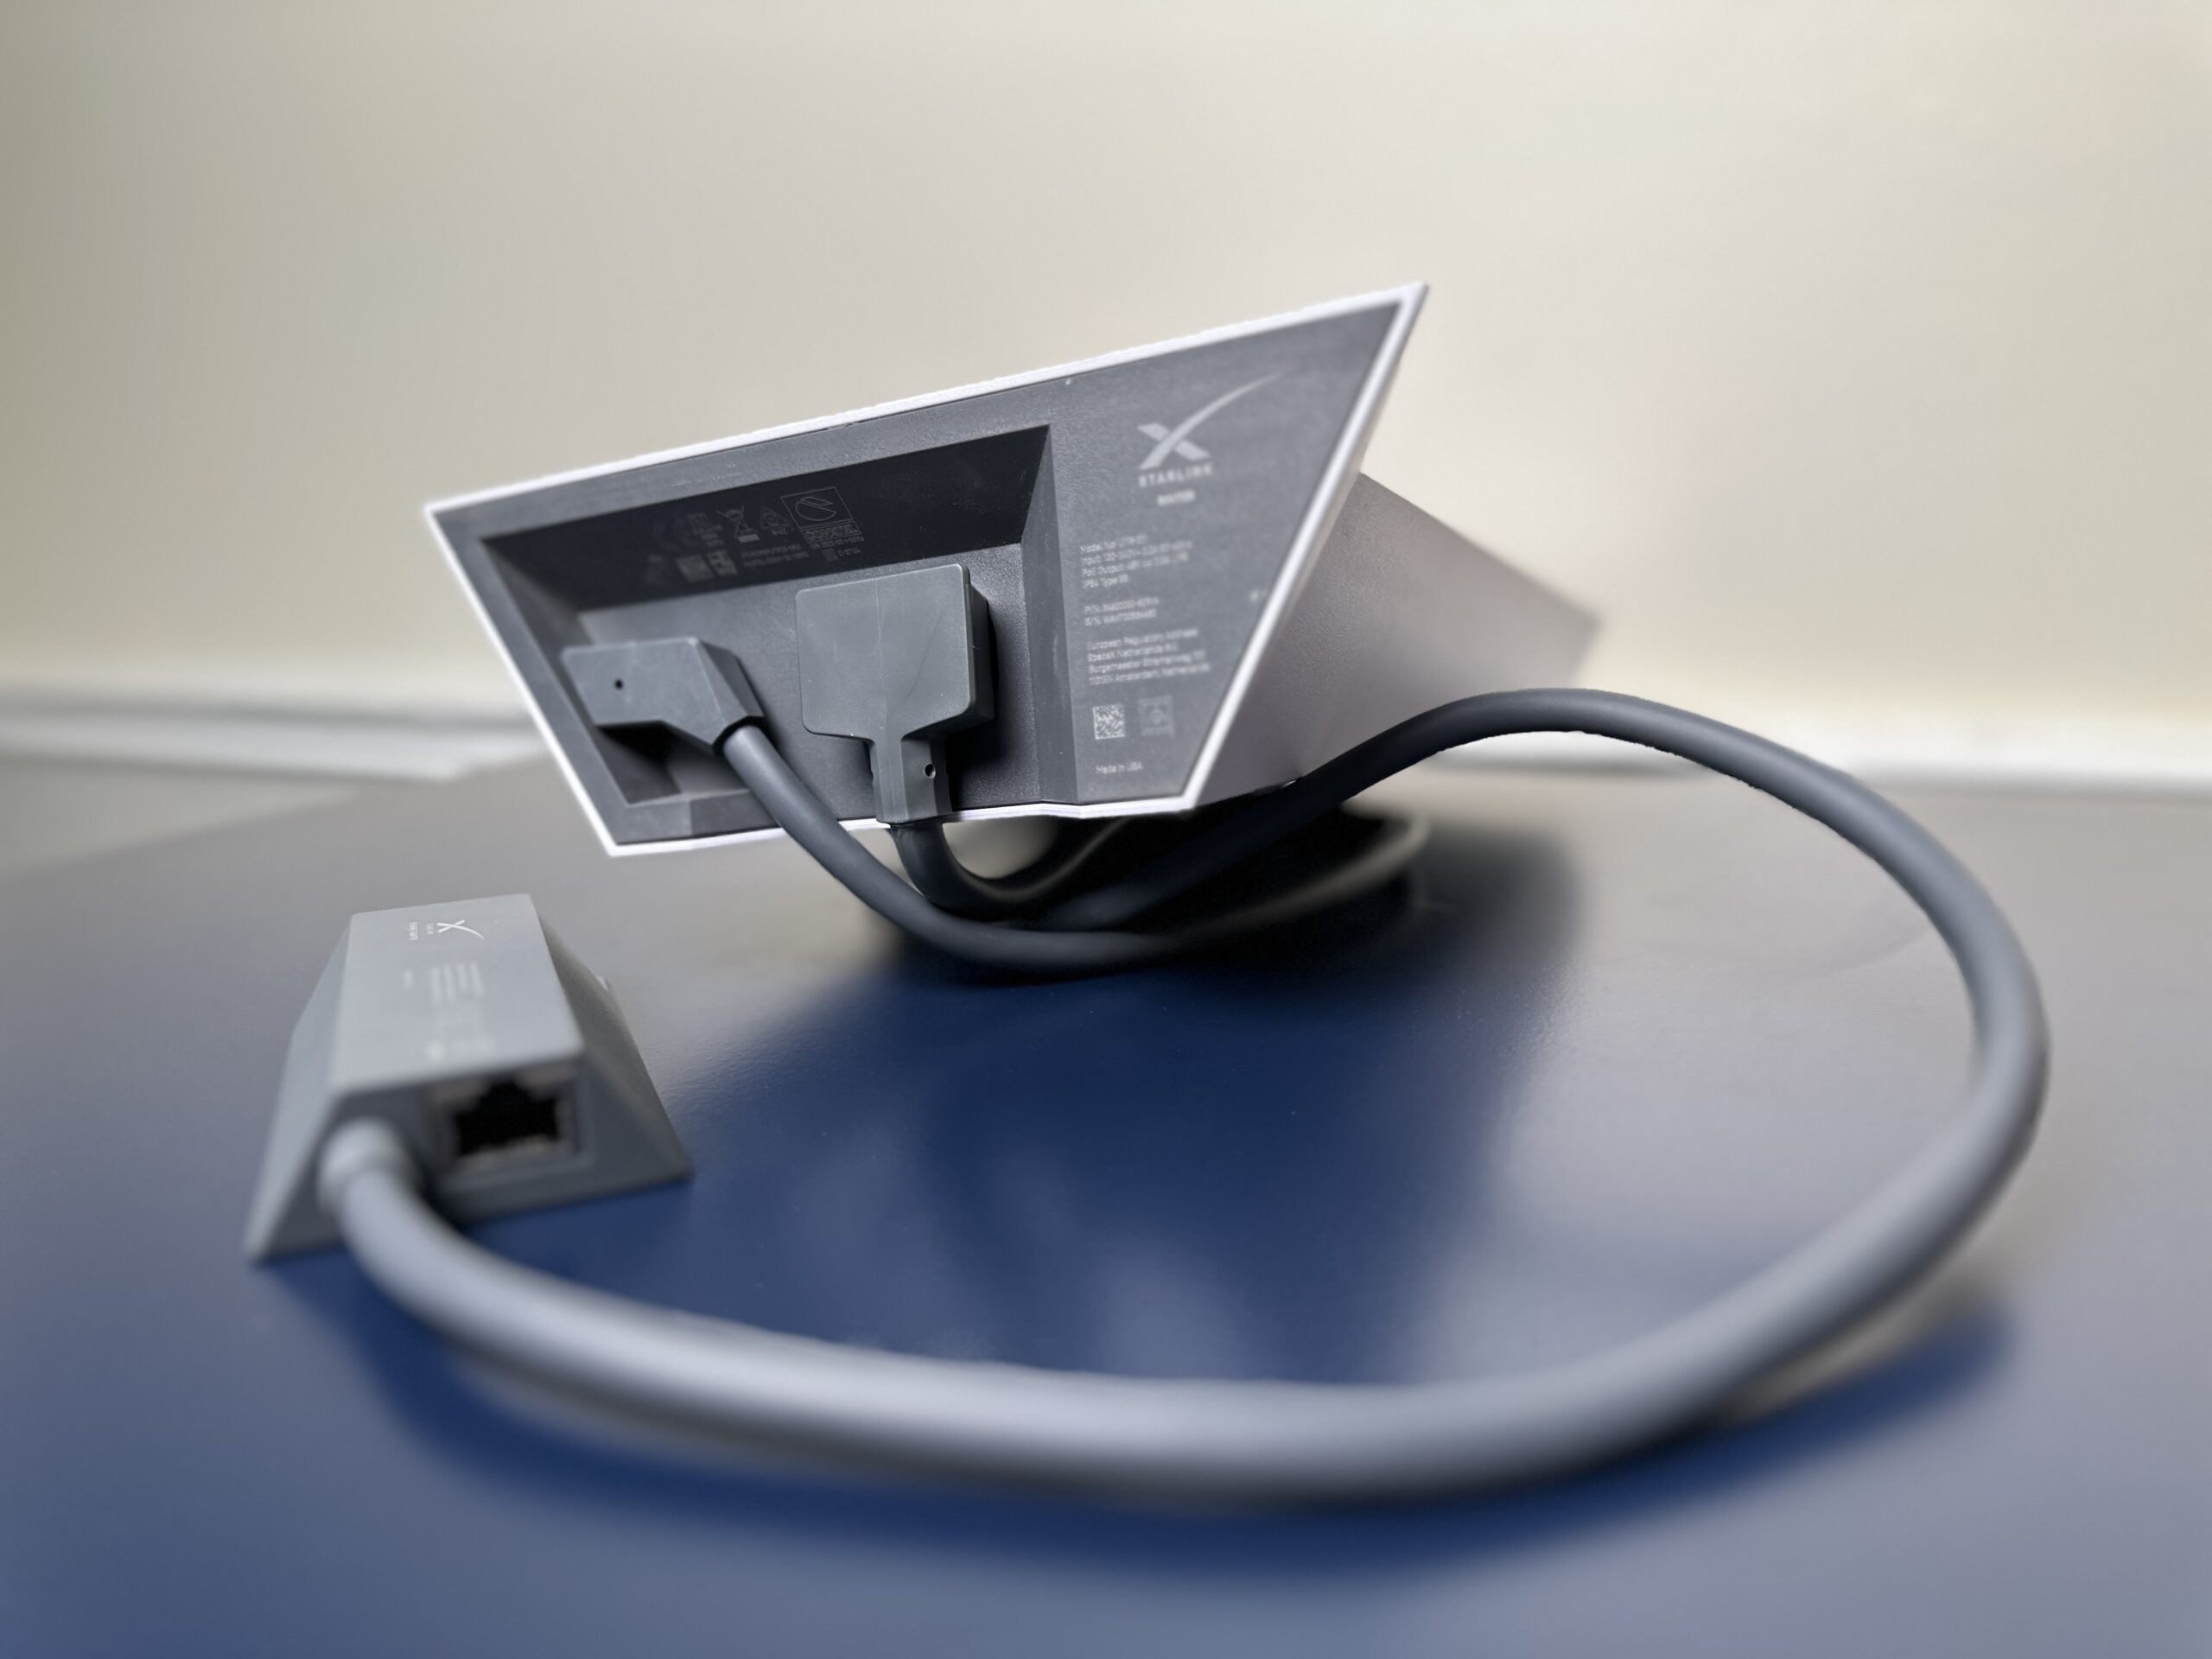 | Best for DIYers - 12V→54V Boost Converter |
| Check Price on Amazon |
 | Best for Mini - 12V USB-C PD 100W Charger |
| Check Price on Amazon |
What Voltage Do the Dishes Actually Use?
None of the Starlink dishes run on 12V natively. Understanding the real input spec is the whole conversion:
| Dish | Input Path | Effective Input | Conversion Difficulty |
|---|---|---|---|
| Gen 2 Standard | Proprietary cable, powered by included PSU | ~**48-52 V DC** (PSU output to dish) | Medium – harness or splice |
| Gen 3 Standard | Proprietary cable from Gen 3 router/PSU | ~**54 V DC** | Medium – plug-in DC kits exist |
| Mini | **USB-C Power Delivery** | **20 V / 3-5 A (60-100 W)** | Trivial – any PD charger |
Mini: The 10-Minute Conversion
The Mini is genuinely plug-and-play. It requires **60 W minimum** over USB-C PD and runs best on **100 W (20V/5A)**. From a 12V socket, buy a **12V-to-USB-C PD 100W adapter** – wire your socket with **12 AWG** cable and a **15 A fuse** because the adapter will pull up to 10 A at full load. Total cost: about **$20-30**. If the dish brownouts on startup (some PD chargers negotiate slowly), a PD trigger cable locked at 20V fixes it.
Gen 3 Standard: Two Routes
Route A – Plug-In DC Conversion Kit (Recommended)
Specialty vendors sell harnesses that connect your 12V source on one end and mate with the Gen 3 cable’s connector on the other, containing a **12V→54V boost converter rated 300-500 W**. This bypasses the Gen 3 router’s power function entirely – the dish powers up, and you connect your own router via Ethernet for distribution (see the bypass mode guide). Installation is: fuse near the battery, run **10 AWG** positive/negative to the converter, plug in the dish, done. Budget **$60-130**.
Route B – DIY Boost Converter
For tinkerers: a **12V→54V adjustable boost converter** rated at **400 W+** (input current will hit **40 A** at full dish load – never use a 10A-rated module, it will cook), spliced onto the dish-side of the Starlink cable. Requirements:
- Input fuse: **40 A** blade or MIDI fuse within 7 in of the battery.
- Wire gauge: **10 AWG minimum** on the 12V side; the 54V side can be 16-18 AWG.
- Output verification: set and confirm **54 V** with a multimeter **before** connecting the dish. Overvoltage kills dishes; there is no warranty coverage for it.
- Startup surge: dish boot draws peak power for ~60 seconds – the converter’s continuous rating must exceed the dish’s peak, not its average.
Gen 2 Standard: The Awkward One
The Gen 2’s power supply is integrated into the router, and its cable connector is proprietary – third-party harnesses exist but fitment is fussier, and the motorized dish’s boot surge is higher. Practical guidance: conversion kits for Gen 2 are available from the same specialty vendors (verify **Gen 2-specific** listing, the connectors differ), or take the lazy-but-inefficient route of a pure sine inverter sized **300 W+**. Gen 2 is also the oldest platform; if you are buying hardware now, a Gen 3 or Mini is a better conversion target.
Wiring Best Practices (All Setups)
- Fuse everything at the battery. An unfused 12V run to a converter is a fire risk in an RV wall.
- Drip loops and strain relief wherever cable enters the vehicle or building – see the cable pass-through guide.
- Voltage drop: keep 12V runs under ~6 ft at 10 AWG. Longer runs need 8 AWG or a higher input voltage (24V systems halve current).
- Measure before trusting: clamp-meter the input at boot and under load. A healthy Gen 3 conversion shows ~**5-8 A at 12.8 V** while browsing, peaking higher at boot.
Does It Really Save 30%?
On our test bench: a Gen 3 through its stock brick off an inverter drew **~95 W** at the battery; the same dish on a quality DC harness drew **~80 W** – a **~25-30% saving**, worth **~500-600 Wh per day**. That is most of a 100W solar panel’s daily output, for the price of a converter. Full system math is in the off-grid pillar guide, and hardware compatibility is in the matrix.