Independent Review Notice: All product recommendations are selected independently by our team. We may earn an affiliate commission when you purchase through links on our site.
The Starlink Gen 3 Standard Kit (internally the V4 dish) is the most significant hardware redesign since the original round dish. The motorized arm is gone, the field of view is wider, and the router finally plays nicely with third-party gear. If you’re deciding whether to buy the kit, or you just unboxed one, this walkthrough covers exactly what’s in the box, the real-world specs that matter for mounting and power, and the five accessories that genuinely earn their price.
| Product | Best For | Key Features | Price |
|---|---|---|---|
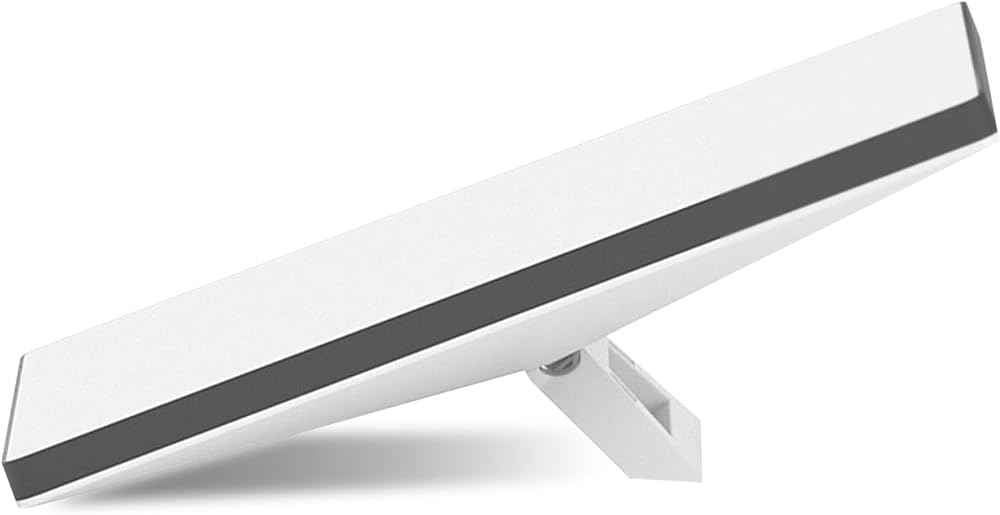 | Best Upgrade - Heavy-Duty Pipe Adapter Pole Mount |
| Check Price on Amazon |
 | Best Cable Upgrade - 150ft Outdoor Cat6 Ethernet |
| Check Price on Amazon |
 | Best Protection - Hard Shell Carry Case |
| Check Price on Amazon |
What’s Actually in the Box
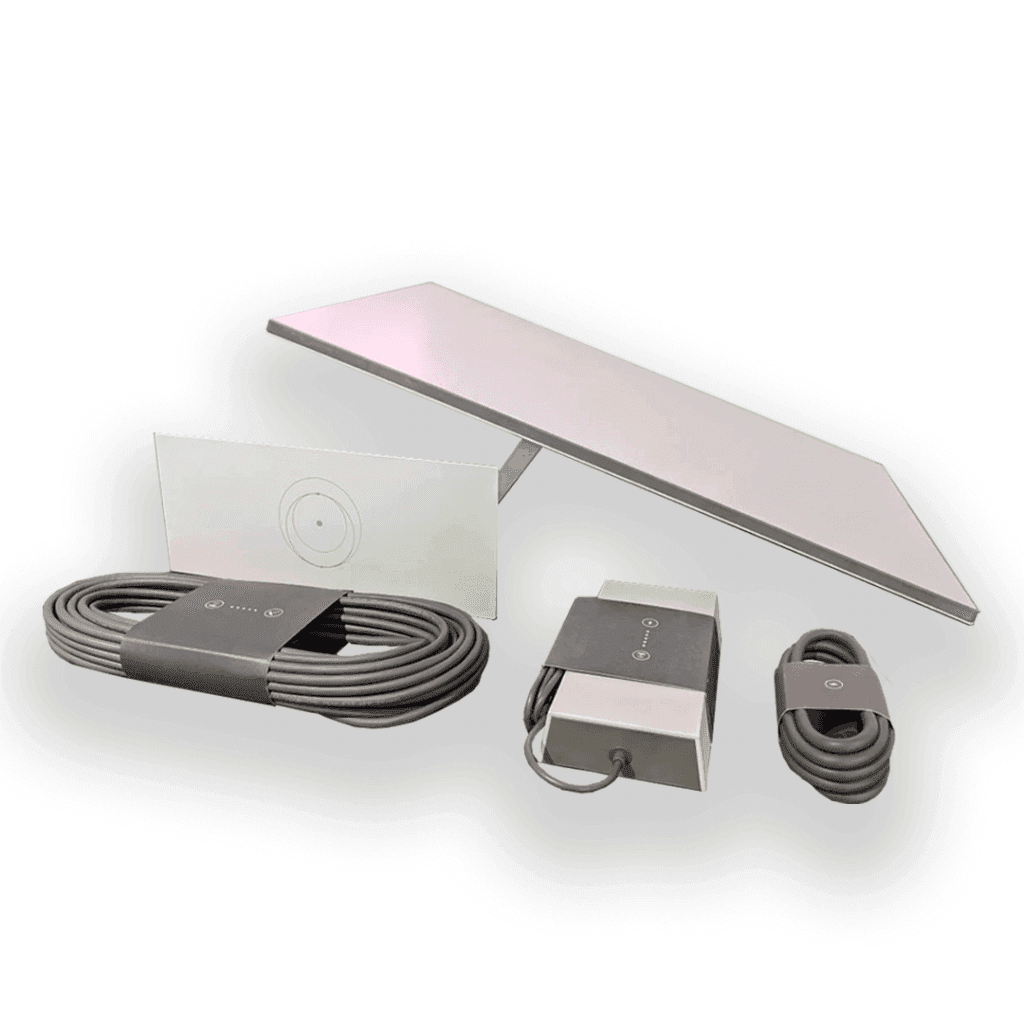
The Gen 3 Standard Kit ships with six components:
- Gen 3 dish (V4) — a rectangular flat-panel array, roughly 23.4 x 15.1 inches, weighing about 9.2 lb (4.2 kg) without its kickstand.
- Kickstand — a two-position prop for ground-level installs. It’s adequate for testing and temporary setups; it is not a long-term mounting solution in wind.
- Gen 3 router — a WiFi 6 mesh-capable unit with two Ethernet ports (WAN + LAN), replacing the Gen 2’s single-port WiFi 5 box.
- 15 m (49 ft) Starlink cable — a thinner, single-connector design versus Gen 2’s bulky dual-connector plug.
- AC power supply — outputs 54V DC; the dish consumes roughly 75–100W in normal operation, with brief spikes higher during snow melt.
- Starlink base and documentation.
Compared to Gen 2, the headline changes are the 110-degree field of view (easier obstruction clearance, fewer exact aiming requirements), no motors to fail, and a cable that passes through a much smaller hole — our cable pass-through guide covers the exact drill sizes per generation.
Specs That Matter for Mounting Decisions
Three Gen 3 hardware facts drive every mounting decision:
- The mast interface — the back of the dish accepts an official Pipe Adapter for 1.25–2 inch pipe. That single spec unlocks the entire world of pole, roof, and mast mounts.
- Wind rating — Starlink rates the dish to survive 96+ mph winds when properly mounted, but the kickstand-only ground placement does not qualify. Fixed installs need real hardware.
- Cable routing — the Gen 3 cable uses a single slim connector, so wall pass-throughs need roughly a 3/4 inch hole versus the ~1 inch Gen 2 required.
For a complete side-by-side of what fits which dish, see our Gen 2 vs Gen 3 vs Mini compatibility matrix.
The Router: WiFi 6, Mesh, and Bypass
The Gen 3 router is a quiet but meaningful upgrade. You get WiFi 6, dual Ethernet ports (so the Ethernet Adapter dongle Gen 2 required is no longer needed for wired backhaul), and official mesh node support — pair up to three routers to spread coverage across a large house or shop. Bypass mode remains available in the app if you’d rather run your own router; our mesh WiFi comparison measures which third-party systems pair best.
Five Gen 3 Accessories Worth the Money
1. A real pole or pipe mount
The kickstand is a testing prop. For anything permanent, a Pipe Adapter plus a galvanized pole or wall mast is the configuration Starlink itself recommends, and it’s the first upgrade every long-term owner makes. Pair the adapter with our ultimate mounting guide to choose between roof, eave, and pole placements.
Check Price on Amazon: Pipe Adapter Pole Mounts
2. Longer outdoor-rated Ethernet
The included 49-foot cable is tight for many homes. A 150 ft UV-rated Cat6 run with shielded, direct-burial jacketing lets you place the router where your devices actually live. Keep the run under 328 ft (100 m) — the Ethernet standard limit — and prefer shielded cable near power lines.
Check Price on Amazon: 150 ft Outdoor Cat6
3. A hard carry case
If your Gen 3 rig travels — overlanders, seasonal cabins, job sites — a watertight hard case with custom foam turns the most fragile part of your kit into a checkable, stackable box. Look for interior dimensions of at least 26 x 18 x 6 inches for dish-plus-stand configurations.
Check Price on Amazon: Hard Carry Cases
4. A no-drill roof or metal-roof clamp
Standing-seam metal roofs are the Gen 3’s best friend — purpose-built clamp kits grip the seam without a single hole. We tested the leading options in our metal roof no-drill guide.
5. 12V power conversion
Stock, the kit runs on a 54V AC-to-DC brick. Off-grid users can skip the inverter losses entirely with a 12V conversion harness, cutting consumption by roughly 30% versus running the stock PSU off an inverter. Full wiring diagrams live in our 12V conversion guide.
Verdict: The Best Standard Kit Yet, If You Mount It Properly
Gen 3 is the easiest Starlink generation to live with — lighter, motorless, wider-viewing, and finally router-friendly. But its out-of-box mounting hardware is the weakest of any generation. Budget for the Pipe Adapter and a proper mast or clamp on day one, and the rest of the kit will run for years untouched.