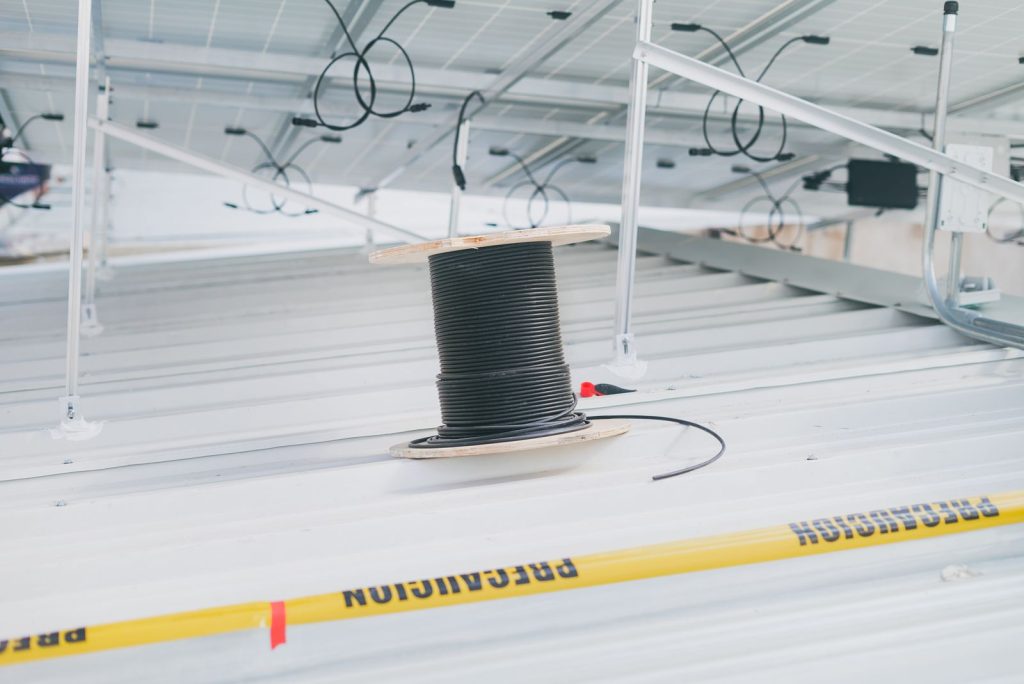
You mount the dish perfectly, run the cable, and six months later there’s a water stain on the ceiling. The cable entry — where the Starlink wire passes through a wall or roof — is the spot everyone rushes and pays for later. We’ve re-sealed three entries we botched the first time, and every one of them failed the same way: a gap we told ourselves “caulk would handle.” Here’s what actually keeps water out versus what looks fine until it isn’t.
The reason it fails is boring. The Starlink cable is thick and the connector is bulky, so shoving it through a hole leaves a gap, and a gap on a roof or wall is a direct path for water. Paint, caulk that cracks, and “it’s under the eave so it’ll be fine” all fail eventually. The fix is a real sealed pass-through, not hope — and a drip loop, which we’ll get to.
Why the entry fails
The Starlink cable is thick and the connector is bulky. Shoving it through a hole leaves a gap, and a gap on a roof or wall is a direct path for water. Paint, caulk that cracks, and “it’s under the eave” all fail. The fix is a real sealed pass-through, not hope. Most leaks we’ve chased weren’t at the dish or the mount — they were at this one ignored point where the cable disappears into the building, because that’s the spot nobody wants to think about twice.
| Product | Best For | Key Features | Price |
|---|---|---|---|
 |
Roof Gland / Cable Boot |
|
Check Price on Amazon |
 |
Window / Door Feed-Through |
|
Check Price on Amazon |
 |
Wall Plate with Grommet |
|
Check Price on Amazon |
 |
Self-Amalgamating Tape (field fix) |
|
Check Price on Amazon |
 |
The ‘Just Caulk It’ Mistake |
|
Check Price on Amazon |
1. Roof gland / cable boot
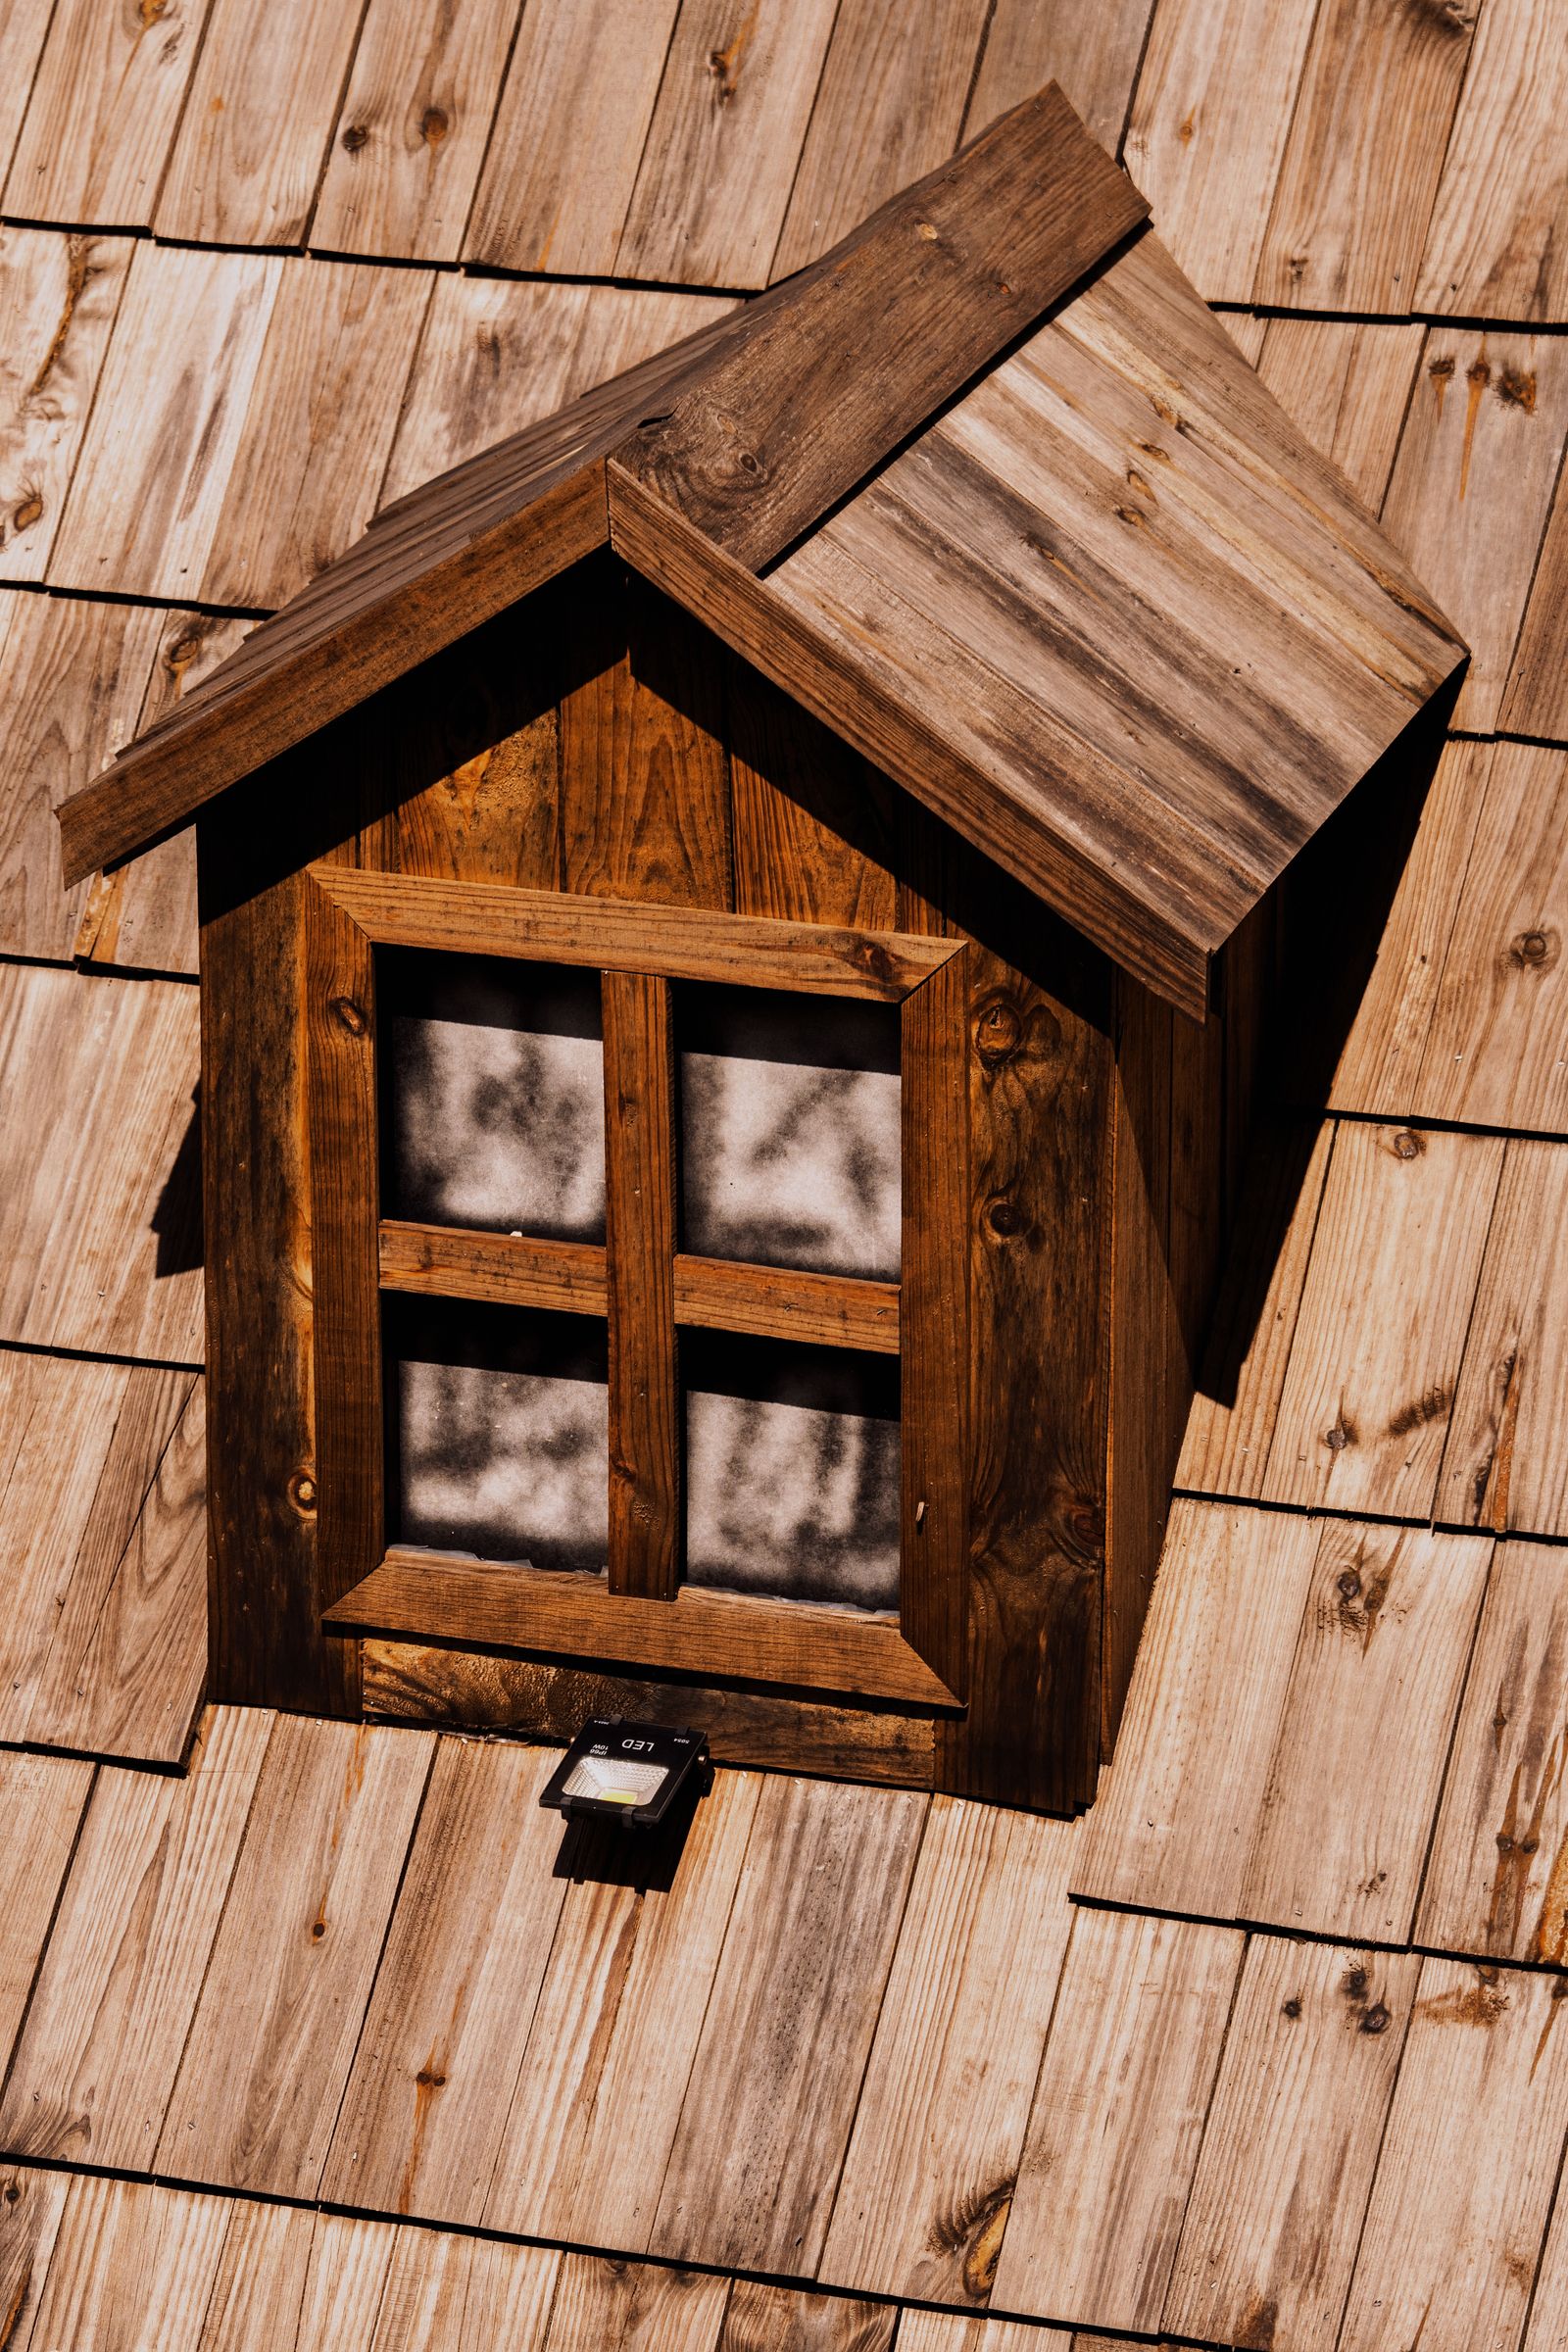
A proper roof gland — the kind solar and satellite installs use — clamps the cable and presses a rubber boot to the surface. We put one on a cabin roof and three winters of rain stayed outside. The key is the boot matches your roof pitch and you bed it in sealant so water can’t get under the flange. It’s the option that actually treats the roof like a roof: a penetratable surface that needs a real seal, not a wish.
The diameter matters more than people expect. The Starlink cable is fat, especially with the connector, so get a gland sized for it or the boot won’t close. We measured the cable, bought the next size up, and trimmed the boot — worth the ten minutes versus a boot that never sealed.
Liked: designed for this, sheds water. Catch: must match cable diameter, and you’re making a permanent hole, so pick the spot like you mean it.
2. Window / door feed-through
If you’d rather not penetrate the roof, a window feed-through plate lets the cable exit through a barely-open window or door, closed on the plate. We use this in rentals and temporary sites — zero holes, fully reversible, and you take it with you when you leave. For a Starlink you’ll move anyway, it’s the lowest-commitment way to get the cable inside dry.
The honest limitation: a thin gap remains at the window, so use the included brush seal and don’t slam it. We’ve seen mice find that gap too, so for a seasonal cabin we add a bit of steel wool in the brush. Cheap insurance on top of a cheap solution.
Liked: no penetration, removable. Catch: a thin gap remains at the window; use the included brush seal and don’t slam it.
View feed-throughs on Amazon →
3. Wall plate with grommet
For wall runs, a two-piece wall plate with a compression grommet gives a clean sealed hole inside and out. We used one where the cable enters a shop wall — tidy and dry, and it looks like it belongs there instead of like a cable someone stuffed through drywall. The compression grommet grips the cable so it can’t wiggle and reopen the gap.
The mistake is thinking the grommet is the weather barrier. It isn’t. You still need sealant behind the plate on the outside, because the plate itself isn’t waterproof — it just holds the shape. Bed it and the grommet does the rest.
Liked: clean finish, seals both sides. Catch: still needs sealant behind the plate; the grommet alone isn’t a weather barrier.
Compare wall plates on Amazon →
4. Self-amalgamating tape (the fix-it)
For temporary or backup sealing, self-amalgamating (rubber) tape wraps the connector-to-boot junction and fuses to itself into a solid waterproof layer. We keep a roll for field repairs and for the “I’ll do it right this weekend” moment that turns into a month. It’s not a permanent entry solution, but it’s saved more than one rainy night and it peels off clean when you’re ready for the real part.
Treat it as a bandage, not a cast. It degrades in sun, so re-wrap seasonally if it’s exposed, and don’t let it be the only thing between your cable and a roof. Used as the backup it’s designed to be, it’s excellent.
Liked: cheap, waterproof, removable. Catch: degrades in sun; re-wrap seasonally.
Get self-amalgamating tape on Amazon →
5. The “just caulk it” mistake
We did this first. Caulk alone around a fat cable cracks as the cable moves with temperature and the dish’s micro-adjustments, and once it cracks, water walks right in. It bought us one season, then we re-did it right with a gland. The caulk wasn’t useless — it was just doing the job of a backup, not a seal. The lesson cost us a ceiling stain and a weekend.
If you’re tempted, at least caulk over a real boot or plate, not over a bare gap. Caulk on top of a clamped cable is a fine finishing touch. Caulk instead of a clamp is how you get a stain.
The seal that actually holds
Layer it: a real boot or plate to physically clamp the cable, sealant (polyurethane, not silicone on everything) under the flange, and a drip loop below the entry so water runs down the cable to the ground, not into the hole. The drip loop alone stops most ingress — water follows the low point, so give it a low point that isn’t your wall. We’ve fixed “mysterious” leaks by adding nothing but a drip loop, and we’ve watched a perfectly good gland weep because someone skipped the loop and let water pool at the boot.
One more habit: check the entry every season change. A boot can shift, a window plate can loosen, a bead of caulk can crack — none of them fail loudly. A two-minute look each spring and fall has caught three problems for us before they became stains. The entry is the cheapest part of the install and the most expensive to ignore.
Comparison
| Method | Best for | Reversible? | Waterproof? |
|---|---|---|---|
| Roof gland | Roof penetrations | No | Yes (done right) |
| Window feed-through | Rentals/temp | Yes | Yes |
| Wall plate | Wall runs | No | Yes (sealant too) |
| Tape | Field repair | Yes | Temp |
| Caulk only | Nothing | Yes | No |
FAQ
Can I just drill a hole and caulk? You can, and it’ll leak. Use a boot or plate that clamps the cable; caulk is the backup, not the seal. The hole is permanent, so spend the five bucks on the real part.
What sealant? Polyurethane for most; check compatibility with your roof. Bed the flange, don’t just run a bead on top — water gets under a surface bead, but not under a bedded flange.
Do I need a drip loop? Yes. Route the cable so it dips below the entry before rising — water follows the low point down, not in. It’s the cheapest fix on this list and the most skipped.
Silicone or polyurethane? Polyurethane for most roof and wall joints; it stays flexible and bonds to dirty surfaces better. Silicone is fine for a clean, stable gap but skins over and can peel on a moving cable. When in doubt, polyurethane under the flange.
What if I already caulked and it’s leaking? Cut it out, fit a real boot or plate, and bed that in sealant. You don’t need to redo the whole run — just fix the entry point. Most “leaks” are a five-minute fix once the cable is actually clamped.
Our pick
Roof entry: a sized roof gland bedded in sealant. No-penetration sites: a window feed-through. Either beats a caulk bead that cracks by spring — and either keeps the stain off your ceiling, which is the whole point.