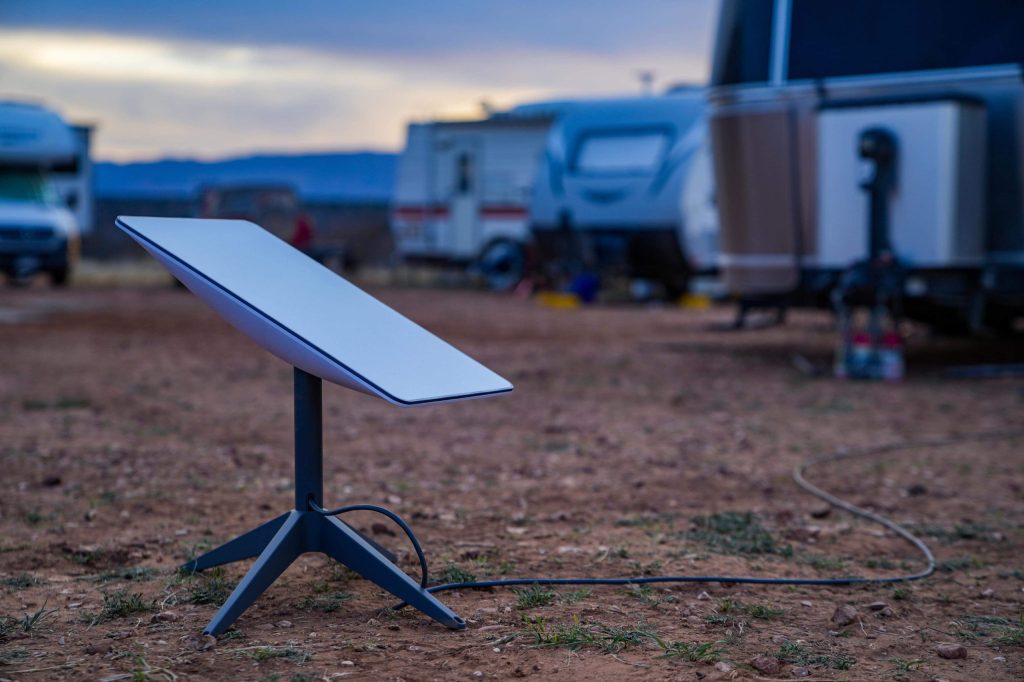
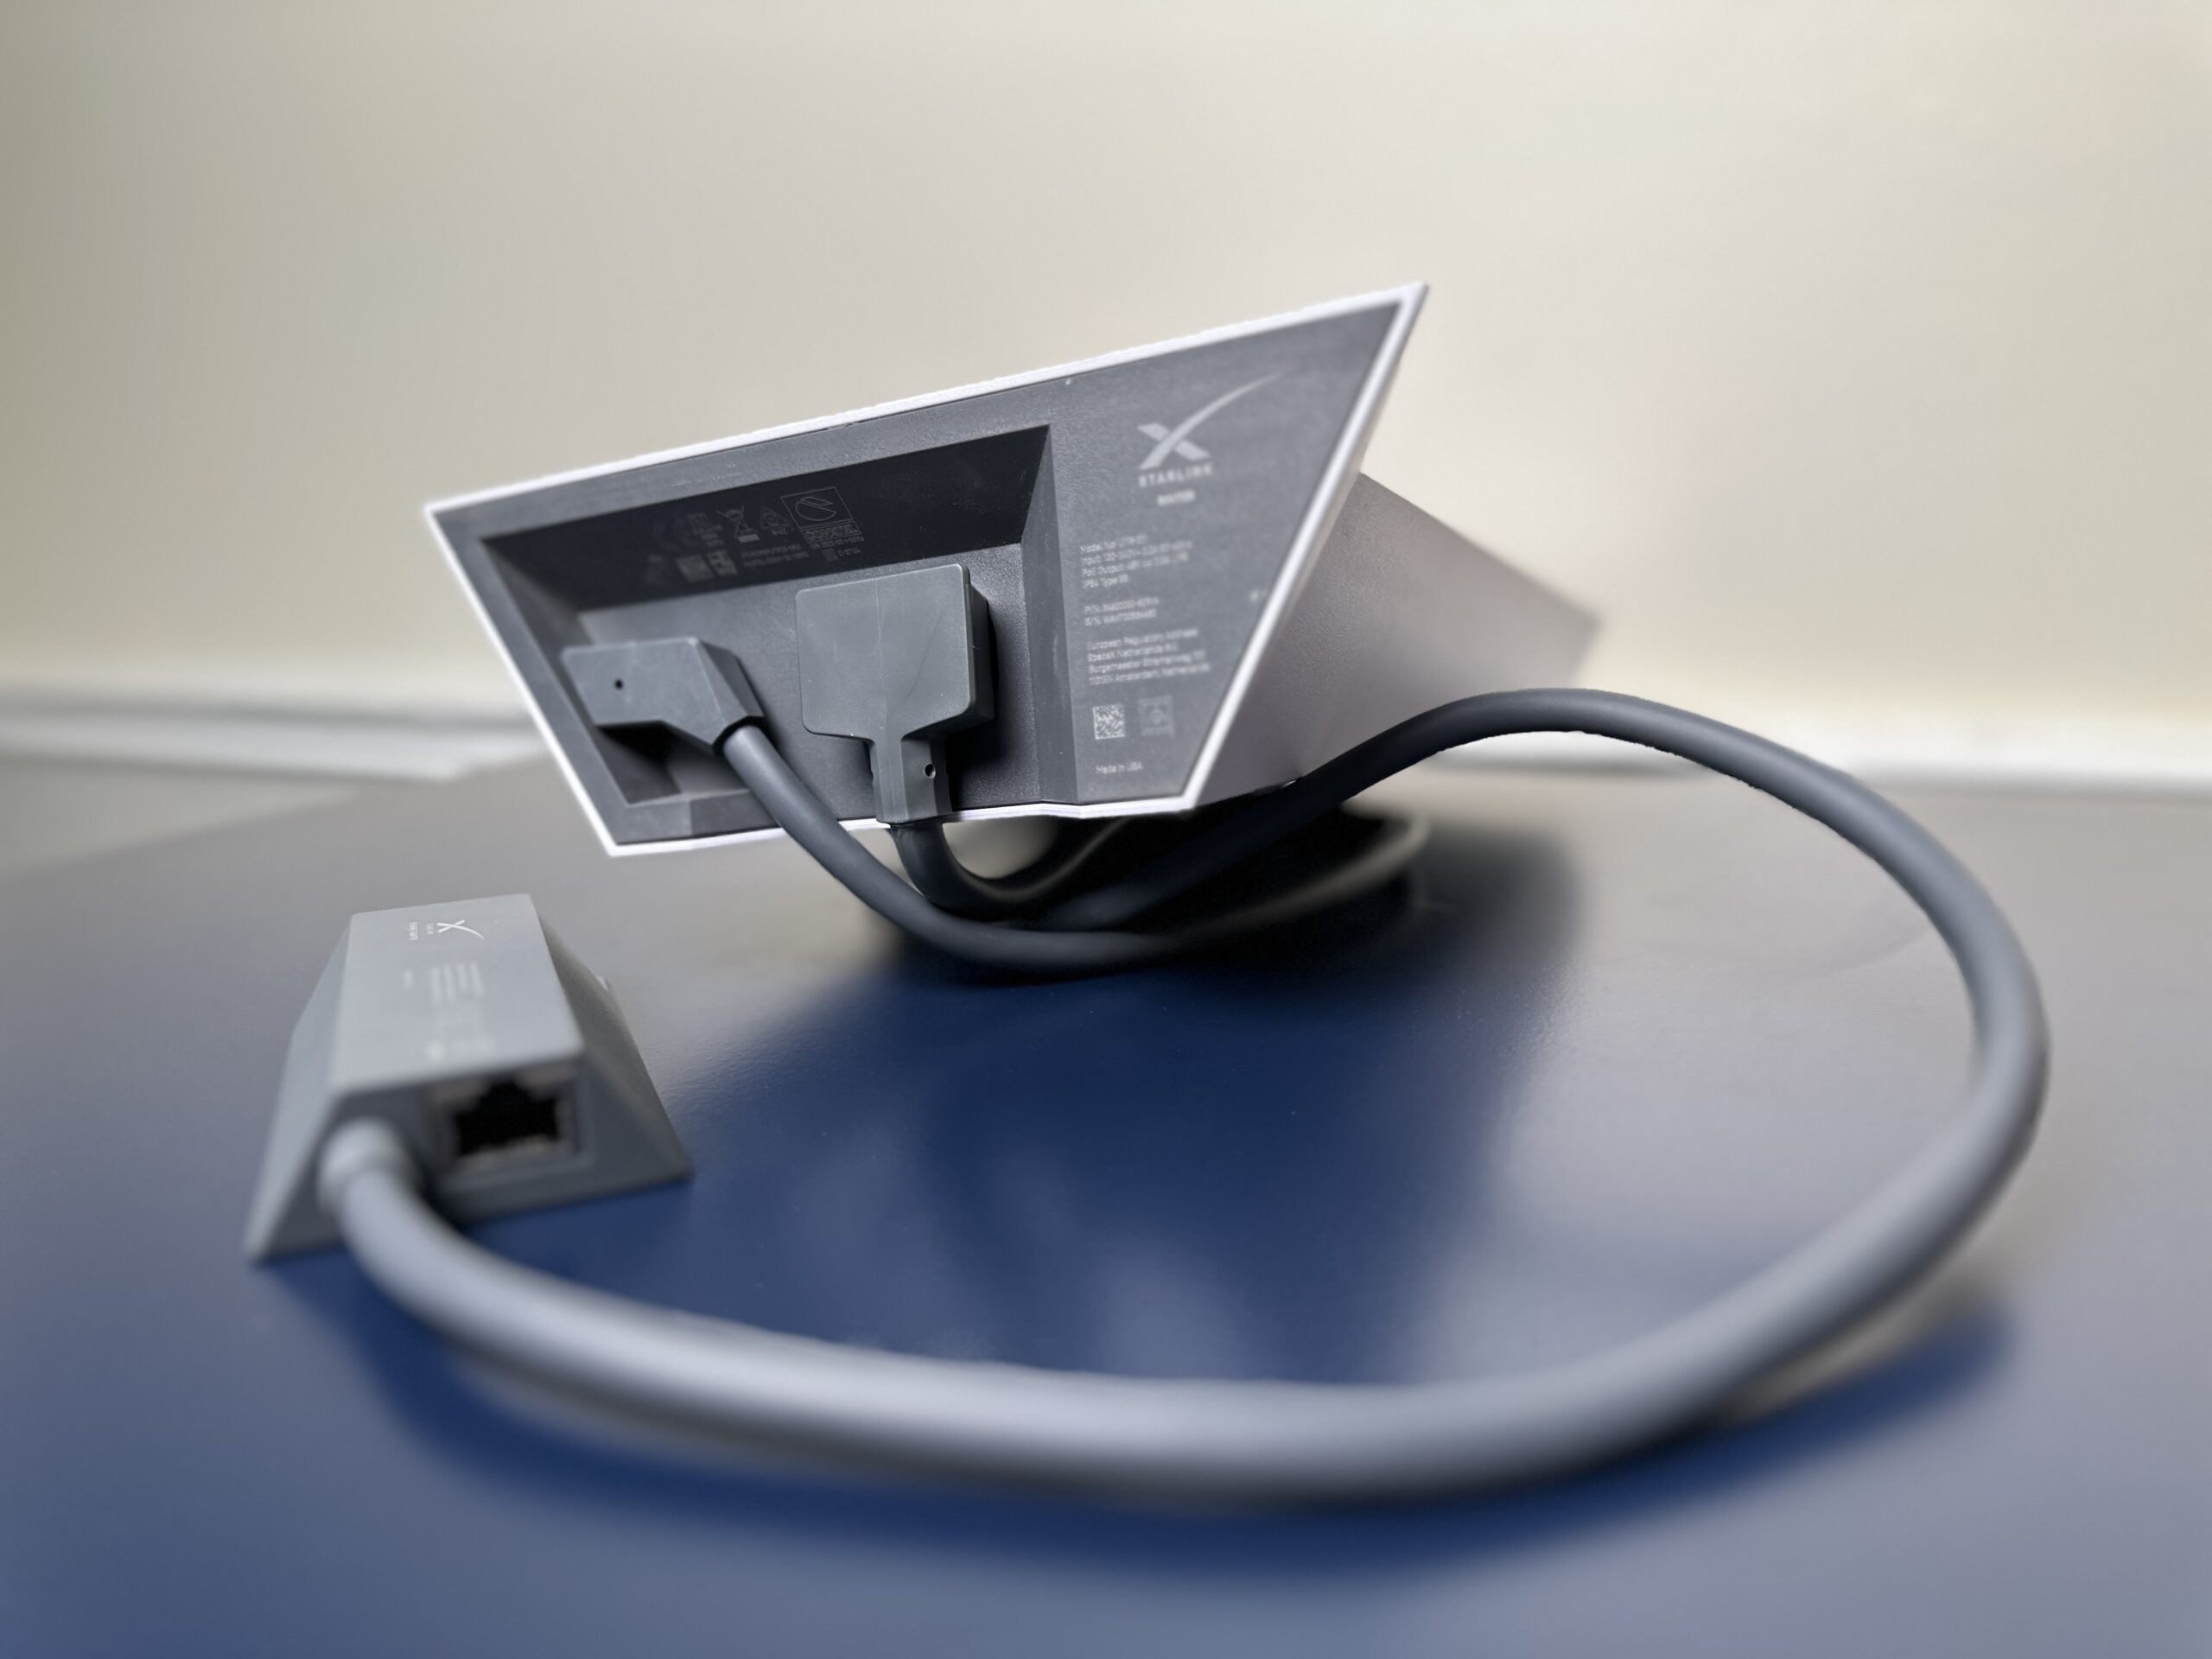
The Starlink cable is not an ordinary Ethernet run. Both Standard dishes use a **proprietary flat cable with an oversized weatherproof connector** – the Gen 2 plug is far too wide for a standard network cable gland, and guessing the hole size is how people end up with leaky walls and chewed cables. This guide covers hole sizing for each connector, the pass-through hardware that actually seals, and RV-specific routing that survives washboard roads.
Quick Summary / Top Picks
| Product | Best For | Key Features | Price |
|---|---|---|---|
 | Best Overall - Oversized Cable Entry Gland |
| Check Price on Amazon |
 | Best for Metal Roofs - Entry Plate Kit |
| Check Price on Amazon |
 | Best Rodent Defense - Metal-Braided Sleeve |
| Check Price on Amazon |
Know Your Connector Size First
| Dish | Cable | Connector Reality | Minimum Hole |
|---|---|---|---|
| Gen 2 Standard | Proprietary flat cable | **Extra-wide plug**, does not pass standard glands | **~1 in (25 mm)** |
| Gen 3 Standard | Proprietary flat cable | Wide plug, slimmer than Gen 2 | **~3/4 in (19 mm)** |
| Mini | **Standard USB-C** | Any small gland works | **3/8-1/2 in** |
The Mini is trivially easy to pass through anything. For the Standard dishes, size the hole for the **plug**, not the cable – or plan the pass-through so the plug stays outside and only bare cable enters.
Home Walls: Three Proven Methods
1. Oversized Gland Through Siding (Most Common)
Drill a pilot, then a **1 in hole** through sheathing, and mount a large-diameter cable entry gland. Key details: caulk the housing flange to the siding (not the cable), and orient the gland opening **downward** so water never pools in the seal.
2. The Outside-Only Splice Trick
If your route can reach the dish with the stock cable staying entirely outside, you only need a small hole for nothing at all – the plug stays outside under the eave, protected by a drip loop. This is the cleanest option when mounting near a roof edge: zero interior penetration beyond a tiny clip path.
3. Existing Penetrations
Reuse what the house already has: an unacked cable TV bushing, dryer vent (never – code and lint), or a basement rim joist gap sealed with a grommet and fire-rated caulk. Attic routes should be in **UV-protected conduit**; attic air cooks bare cable jackets within a few summers.
RV Shells: Routing That Survives the Road
Use Existing Pass-Throughs First
Most RVs already have a **roof plumbing vent or refrigerator vent** with a foam grommet you can enlarge for the Gen 3 plug (and barely for the Gen 2). Going in through an existing vent means no new holes in a laminated roof – where a bad hole means delamination risk, not just a leak.
If You Must Drill the RV Roof
- Pick a spot over a cabinet or wardrobe (interior access for sealing and service).
- Drill the sized hole, deburr, and treat the exposed lamination edge with sealant before inserting hardware.
- Use a **self-leveling lap sealant** (compatible with your roof type – Dicor for EPDM/TPO) around the gland base; do not use silicone on RV roofs.
- Add a **drip loop** on the exterior and a strain-relief clip inside so road vibration never tugs the connector.
- Re-inspect the sealant every season; lap sealant is maintenance, not install-and-forget.
Sidewall Routing for Portable Dishes
If you only deploy the dish while parked, skip roof routing entirely: use a **sidewall pass-through plate** or simply route the cable through the entry door with a foam seal. The dish lives on its kickstand or a small tripod when parked and travels inside – the lowest-tech and most reliable solution for weekenders.
Sealing and Protection Checklist
- Drip loop below every entry – water runs to the loop’s low point and off, not into the gland.
- Rodent protection: sleeve any span within reach of trees or structures with metal-braided sleeve; chewed cables are the #1 warranty-voiding accident we see.
- UV management: bare cable in direct sun gets brittle in 3-5 years; conduit or sleeve doubles its life.
- Strain relief at both ends: the proprietary connectors are not field-replaceable – protect the plug that came with your dish.
Once the cable is inside, the next questions are router placement and power – see the bypass mode mesh guide and the 12V conversion guide. Mounting hardware choices live in the mounting pillar guide.