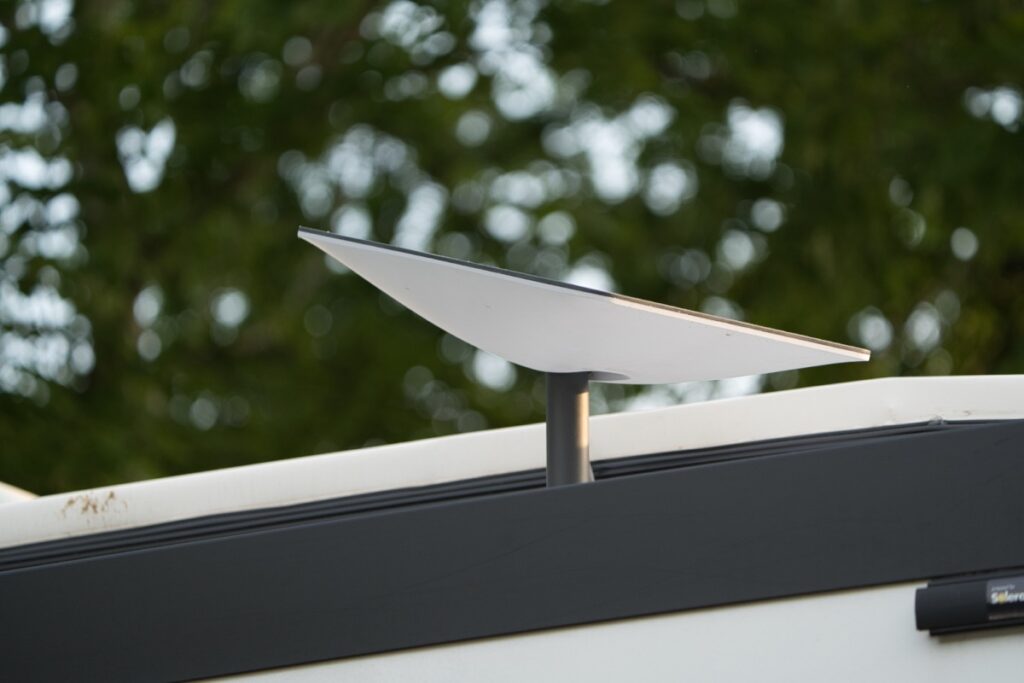
A Starlink dish on an RV is the difference between “we can work from anywhere” and “we can work where the campground WiFi reaches.” But the Standard dish is a **20 x 23 in sail** that weighs 9-13 lb depending on generation, and your ladder was designed for a person climbing, not for lateral wind load. We tested five mounting approaches across two seasons of full-time travel – here is what holds, what rattles, and what to buy for a **Gen 2**, **Gen 3**, or **Mini**.
Quick Summary / Top Picks
| Product | Best For | Key Features | Price |
|---|---|---|---|
| Best Overall - Heavy-Duty Starlink Ladder Mount |
| Check Price on Amazon |
 | Best for Fair-Weather - Roof Rack Rail Clamp |
| Check Price on Amazon |
 | Best Budget - Magnetic Base (Mini & Gen 3) |
| Check Price on Amazon |
First: Match the Mount to Your Dish Generation
Gen 2 Standard
The motorized Gen 2 attaches via its **1.375 in mast stub**. Any RV mount you buy must include a cradle or socket at that diameter – many generic “satellite dish” mounts are sized for 18-24 in TV dishes and will not seat the Starlink stub. The dish also self-aims, so the mount mostly needs to hold it level and kill vibration.
Gen 3 Standard
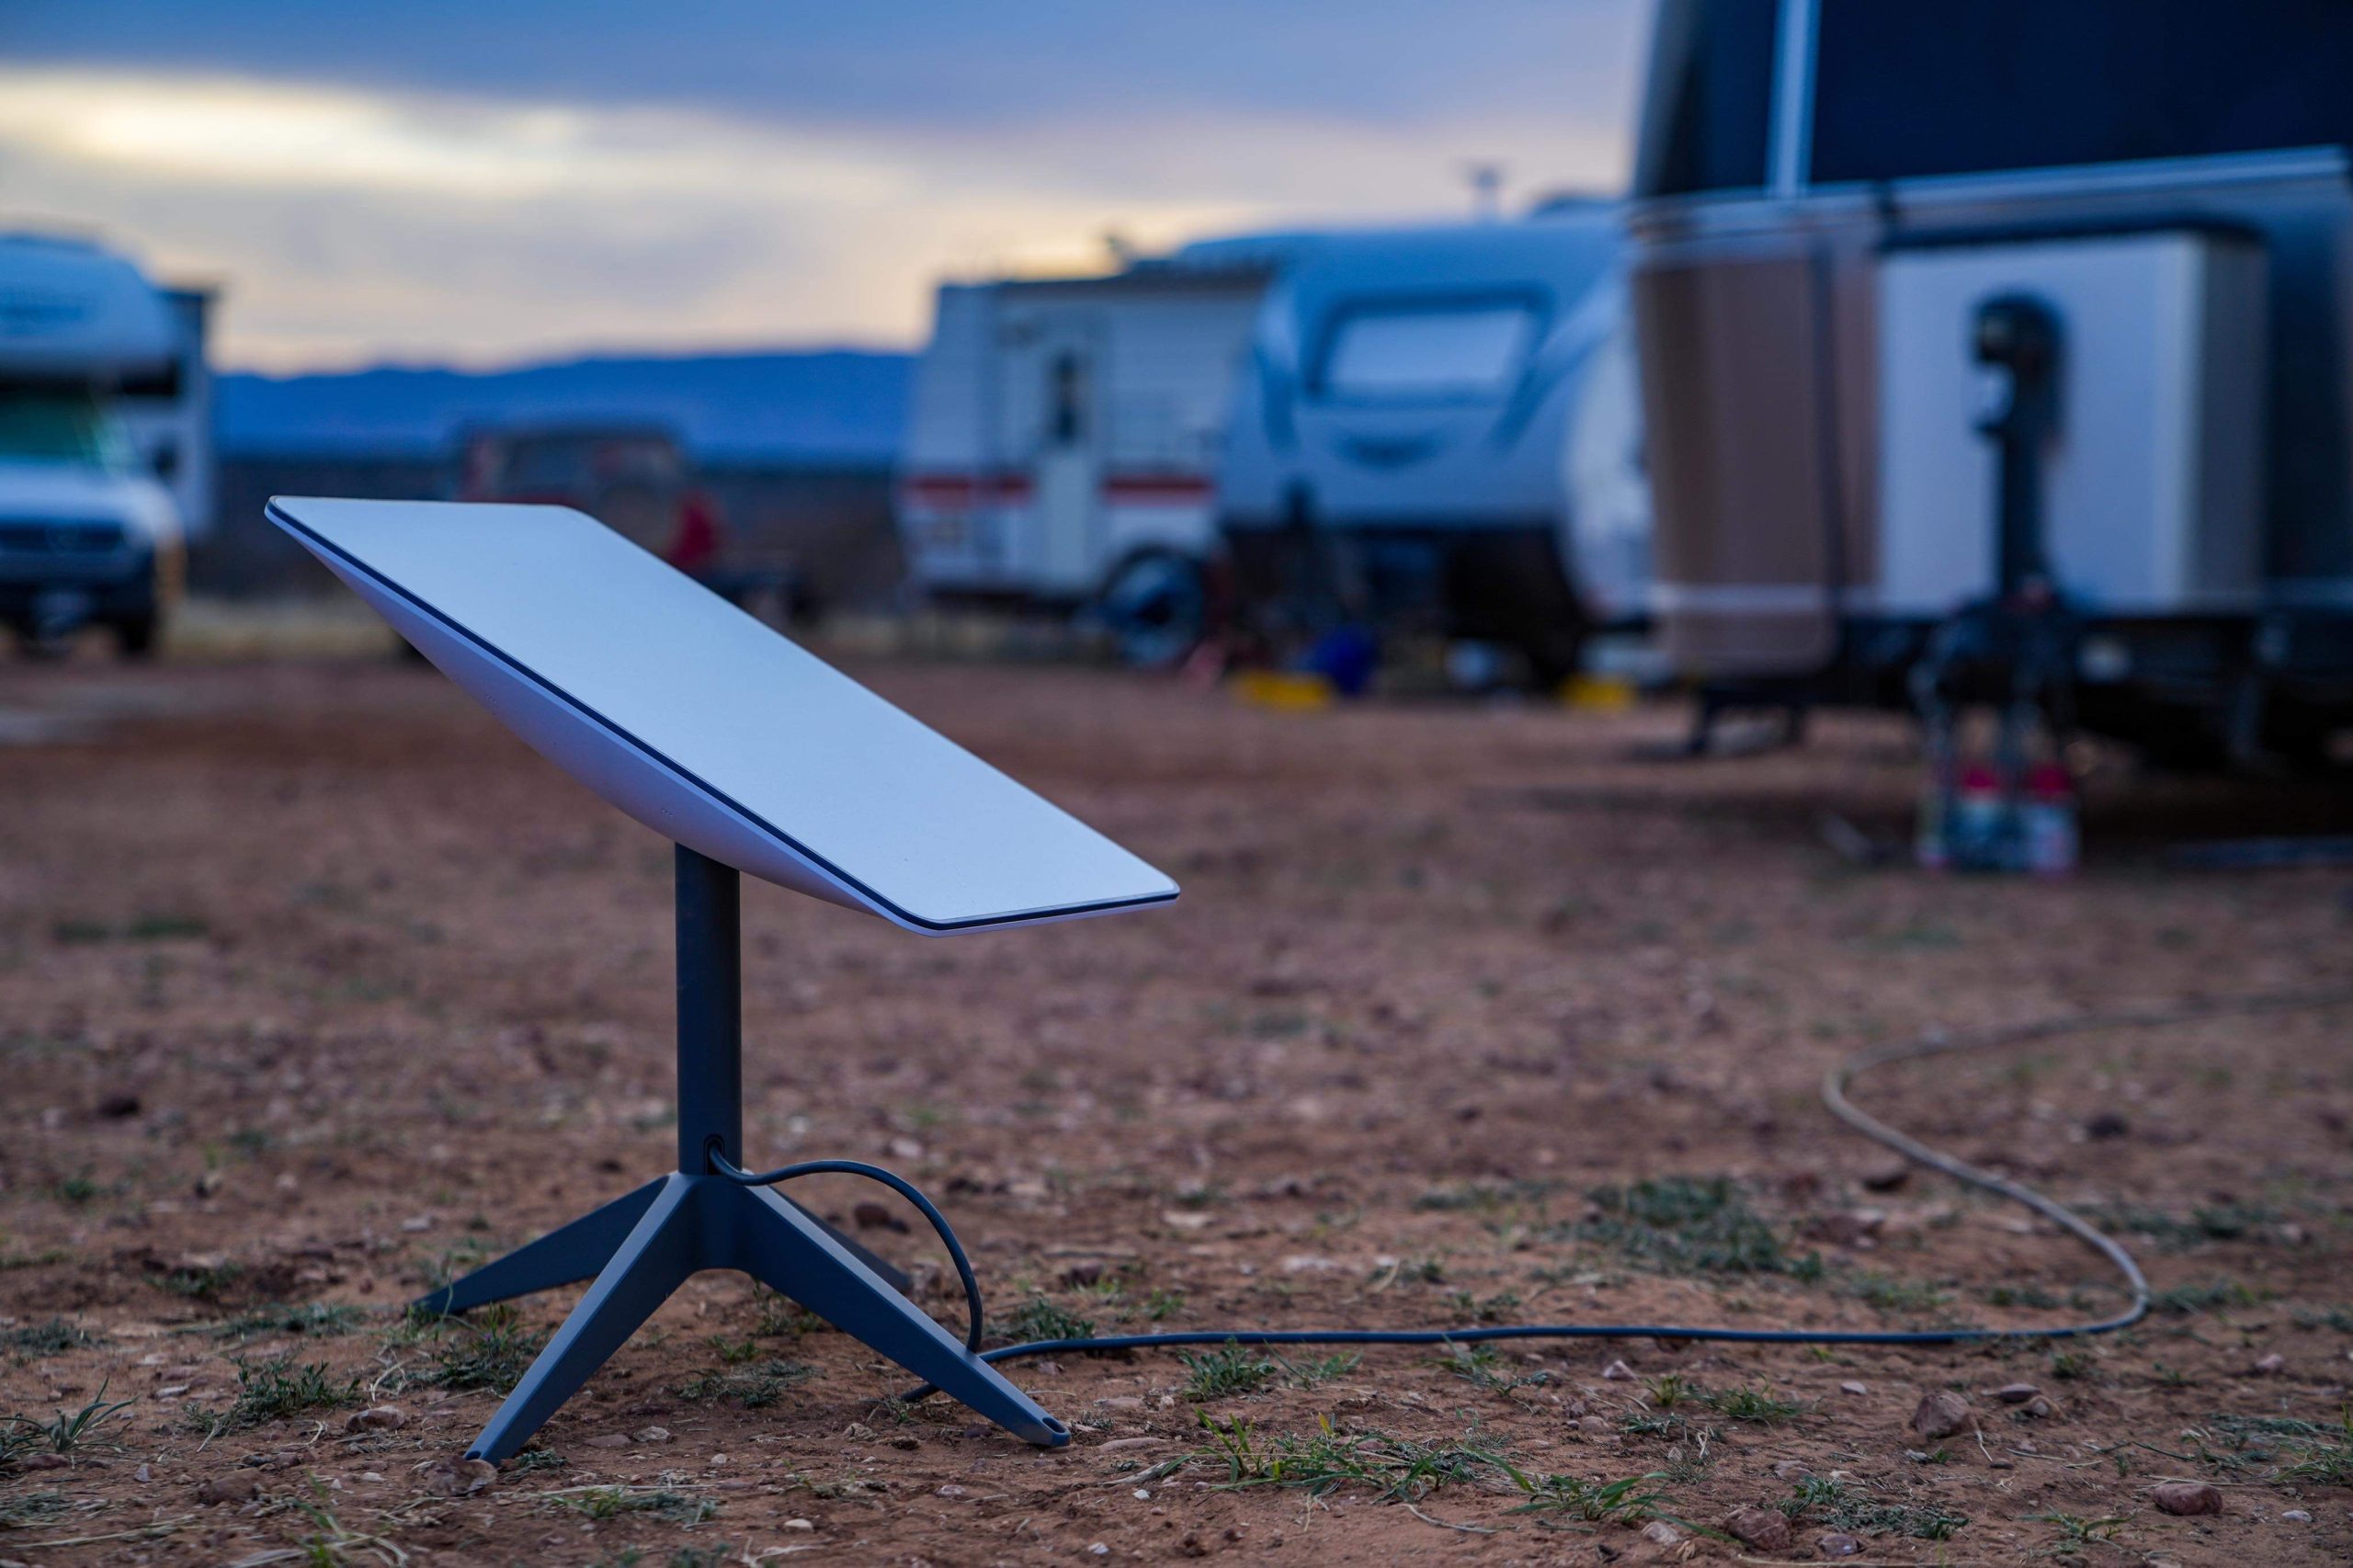
Gen 3 is the easiest to mount: clip it into the included kickstand, then bolt the kickstand plate to any flat bracket – or attach the **Gen 3 Pipe Adapter** and slide it into a standard 1.25-2 in tube clamp. Its wide **110° field of view** also means you do not have to aim it perfectly at every campsite.
Mini
At **2.7 lb**, the Mini does not need structural hardware at all. A suction window mount, a small magnetic base, or a camera tripod inside the RV by a window is enough. If you travel with a Mini only, skip the ladder mount entirely – see the Mini portable setup guide.
The 5 Mounting Options, Tested
1. Dedicated Starlink Ladder Mount (Our Pick for Full-Timers)
Purpose-built ladder brackets clamp to **14-16 in ladder rails** with rubber-padded jaws and accept both the Gen 2 stub and the Gen 3 Pipe Adapter. What we verified over ~9,000 miles: padded jaws protect anodizing, stainless hardware survives coastal humidity, and the whole assembly sheds **55-65 mph** crosswinds when the ladder is properly riveted. The one failure mode we saw was an adhesive-mounted ladder – it flexed in gusts and the dish walked out of level within a week.
- Check before buying: push hard on your ladder. Any flex or rock means it is not structural enough.
- Install tip: mount the dish as low as sky view allows – every foot up the ladder multiplies wind torque.
2. Roof Rack Rail Clamp
Adventure vans and truck campers with roof racks can use **1-2 in rail clamps** sold for solar panels. Aluminum clamp on aluminum rack, with **isolation washers** if metals differ. This is the cheapest route (~$25-40) and doubles for future solar. Downside: no dedicated dish cradle, so pair it with the Gen 3 Pipe Adapter or a U-bolt cradle sized for the Gen 2 stub.
3. No-Drill Gutter Clamp
Gutter-clamp style brackets grip the roof edge without drilling – handy for leased rigs. They work, but gutters are the weakest anchor point on an RV and aluminum gutters deform under sustained load. Treat this as a **fair-weather, set-up-when-parked** option, not a driving mount.
4. Magnetic Base
A **65+ lb pull force** magnet base is surprisingly secure on a steel roof or hood in calm weather, and it is our favorite for the Mini and even the Gen 3 at campsites. It is not a driving or storm solution – never drive with a dish on a magnet, and take it down before wind advisories.
5. In-Vehicle Window Suction Mount (Mini)
The Mini works through glass in a pinch, but expect **20-40% throughput loss** and more dropouts. Fine for checking email at a lunch stop; not a workday solution. Our advice: put the Mini on the dashboard facing a window, or hang it out on the included kickstand.
Cable Routing on the Road
Whatever mount you choose, plan the cable: the Gen 2/Gen 3 connector is too wide for a standard cable gland, so use a pass-through sized for the plug or route through an existing roof penetration (vent, AC plumbing grommet). Our cable pass-through guide covers RV shells specifically, including drip loops and UV protection.
Power Note for Boondocking
A Standard dish draws **50-110 W** – on battery power, that adds up fast. Before your first off-grid trip, read the 12V DC conversion guide and the generation compatibility matrix; converting from the AC power brick saves roughly **30% energy** and removes the inverter from the equation.