The Standard dish runs on a higher voltage than a 12V house bank can supply, so going DC means stepping up. A boost converter takes your 12V and pushes it to the 48V the dish wants, sparing you an inverter and the brick. We’ve mounted these in a camper, a shed, and a boat locker, and the pattern is consistent: the converter is the easy part, and the sizing and cooling are where people get it wrong.
Get the converter right and the Standard dish runs from the same battery as everything else, no AC in the chain. Get it wrong and you’re chasing random reboots, a converter that runs hot, or a dish that won’t cold-start on a winter morning. The fixes are simple once you know which corner you cut.
What a boost converter needs to do
It has to hold a steady 48V while the input swings — and a 12V battery swings a lot, from a charging 14.4V down to a sagging 11V under load. It has to deliver enough wattage for the dish’s running draw plus its startup pull, with margin. It has to stay cool, because a converter running at its limit cooks itself over hours. And it has to do it at high efficiency, or you’re just paying the power loss you were trying to avoid by skipping the inverter. Miss any of the four and the dish lets you know.
| Product | Best For | Key Features | Price |
|---|---|---|---|
 |
48V 120W Step-Up Converter |
|
Check Price on Amazon |
 |
48V 240W Step-Up Converter |
|
Check Price on Amazon |
 |
DC-DC Converter with Display |
|
Check Price on Amazon |
 |
Waterproof Converter |
|
Check Price on Amazon |
 |
Converter + Enclosure Kit |
|
Check Price on Amazon |
1. 48V 120W Step-Up Converter
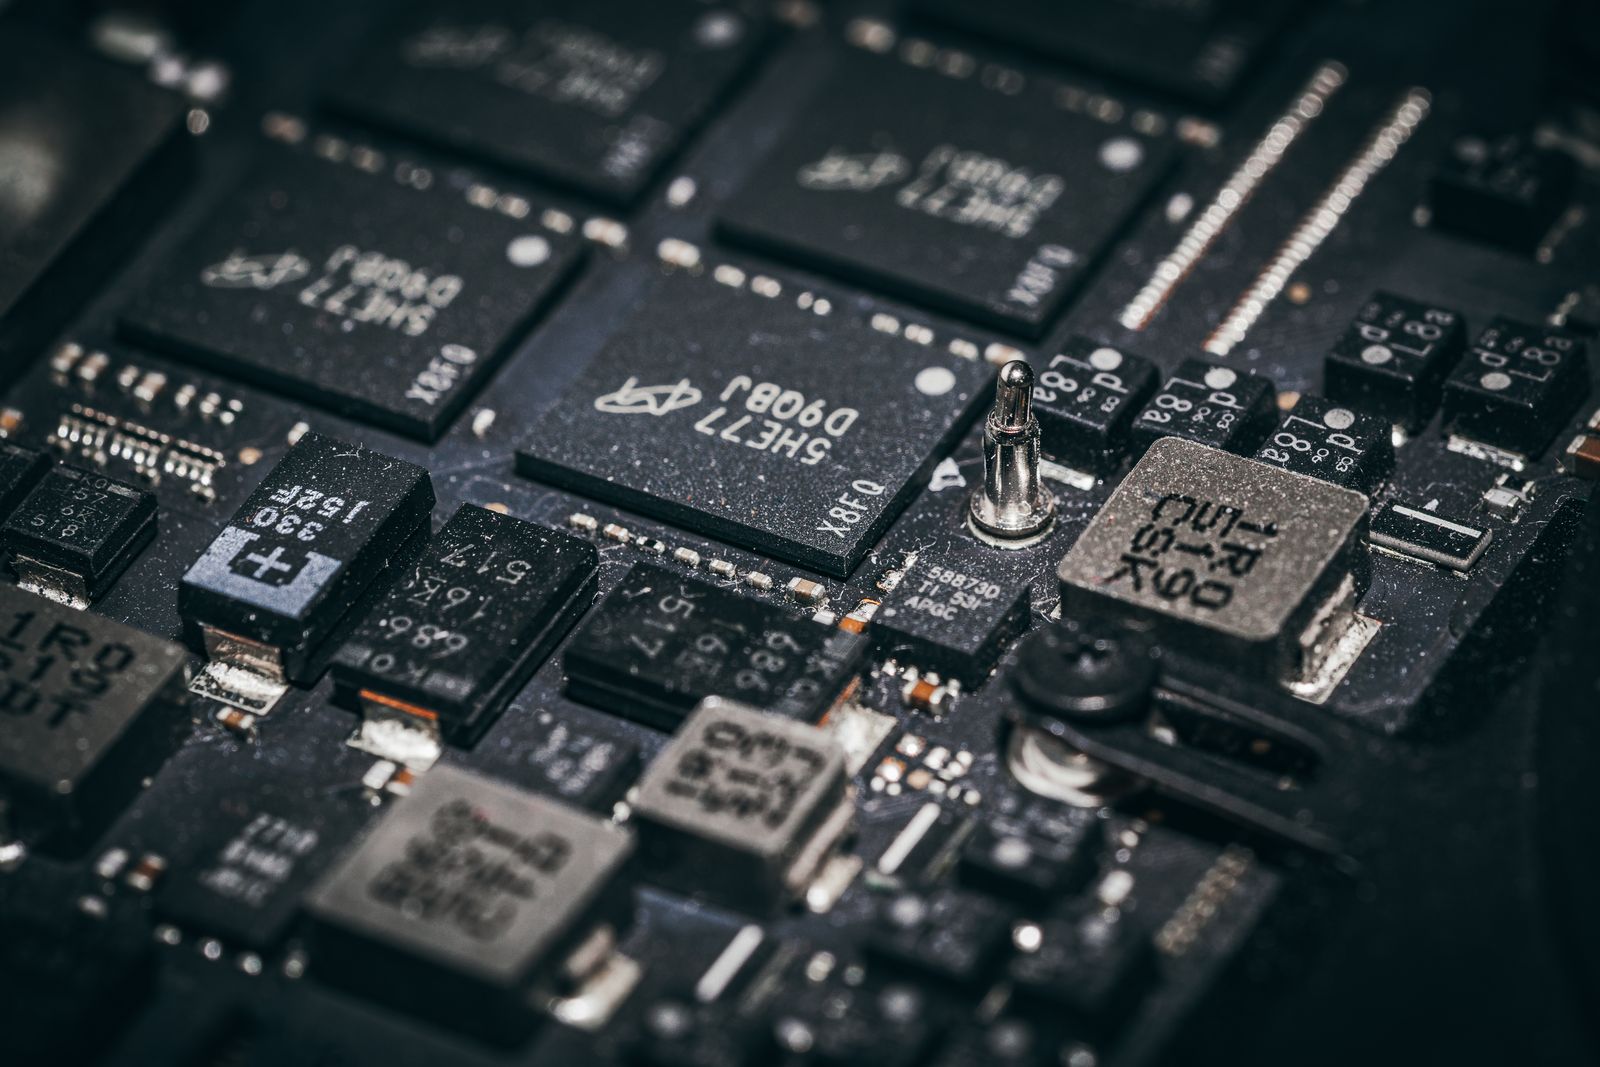
A 120W converter is the entry point for a single Standard dish. It’s enough for the dish’s running load, it’s small, and it’s cheap. We’ve used this class where the dish is the only load and the ambient temperature stays moderate, and it does the job without complaint.
The honest caveats are efficiency and heat. Look for a unit rated above 90 percent efficiency, because the leftover becomes heat in a small case. That means a heatsink actually matters here — a bare, sealed module with no thermal path will get hot and either throttle or fail. Mount it where air moves, don’t bury it against a wall, and check it after an hour of running. If it’s too hot to touch, it needs better airflow or a bigger unit.
Liked: enough for a Standard dish, small, inexpensive. Catch: efficiency and heatsinking are the whole game. A 120W converter pushed hard runs hot, so give it air and don’t stack other heat sources nearby.
Compare 120W step-up converters on Amazon →
2. 48V 240W Step-Up Converter
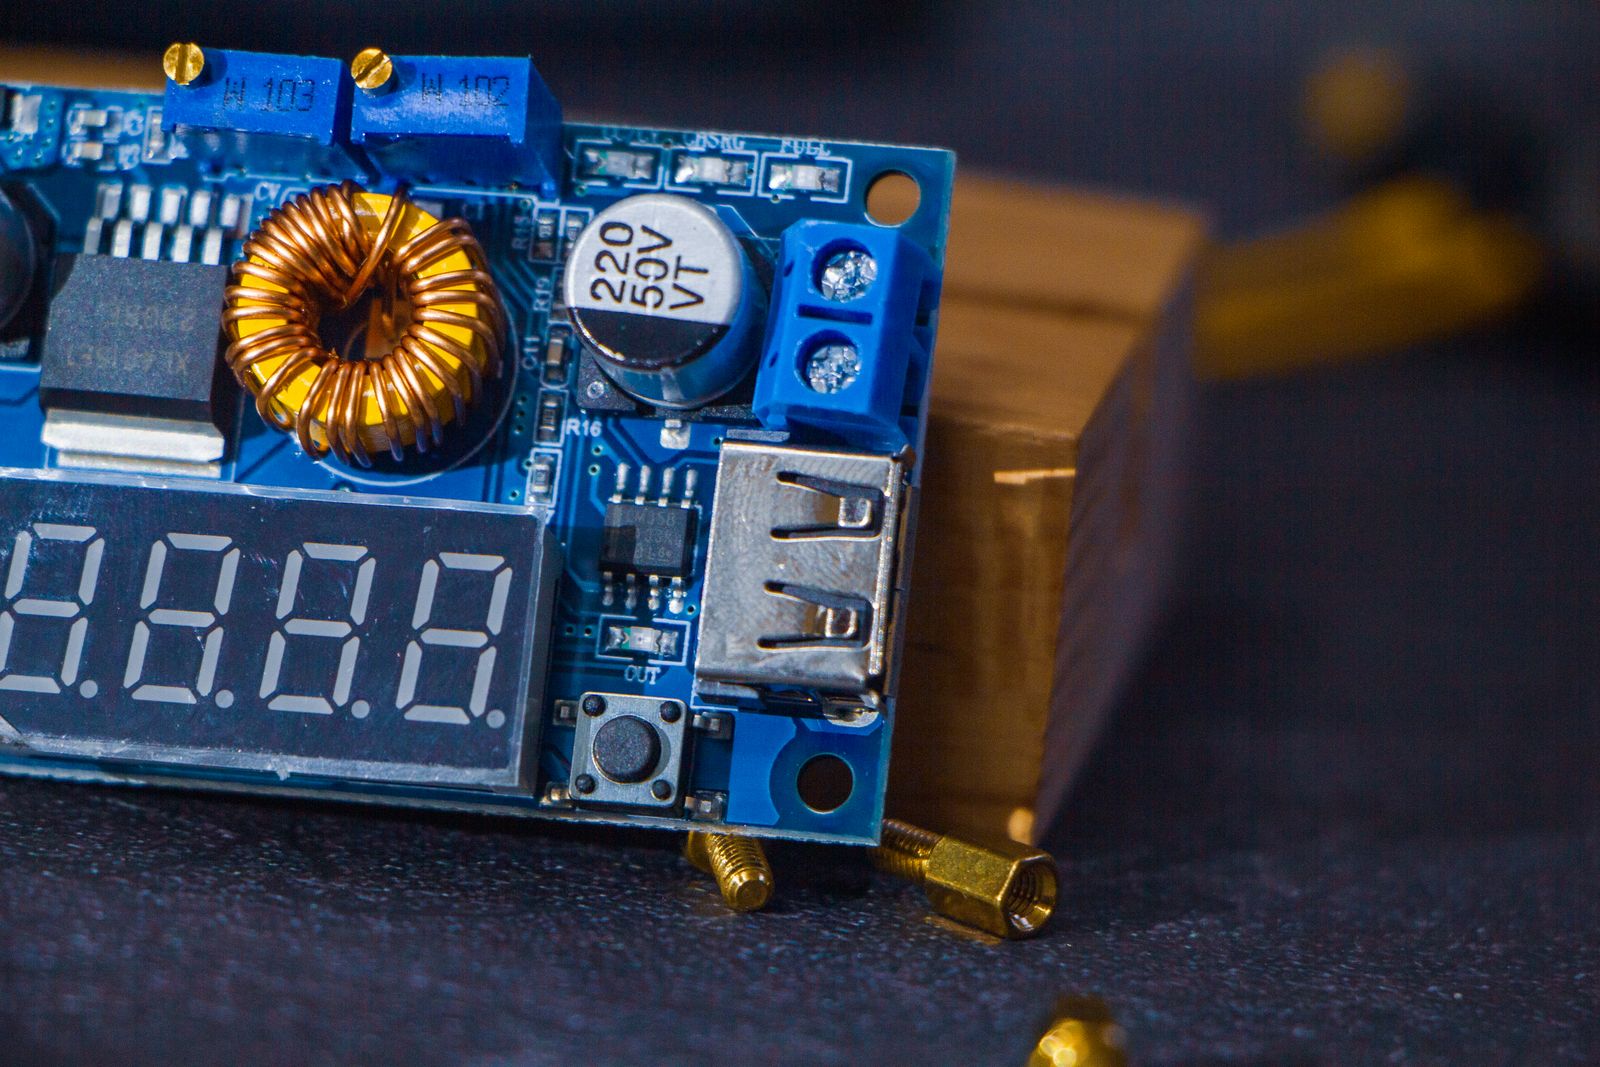
Doubling the rating to 240W buys headroom, and headroom is worth paying for. The dish draws more on a cold start than it does at steady state, and a converter sized barely above the running load can sag or trip at exactly the worst moment. A 240W unit runs cooler because it’s not straining, and it shrugs off the surge.
Our rule is oversize, don’t undersize. A converter working at half its rating dissipates less heat than one working near its limit, so the bigger unit often runs longer and more reliably even though it costs a little more. Fuse the input side generously and keep the run from battery to converter short and thick, because the converter can only boost what reaches it. A volt of drop before the converter becomes a volt it can’t make back.
Liked: headroom for cold starts, runs cooler under load. Catch: slightly bigger and pricier, and it still needs airflow. But we’d take it over the 120W in any install that runs through winter.
See 240W boost converters on Amazon →
3. DC-DC Converter with Display
A converter with a built-in display of volts and amps is worth its small premium for one reason: you can see what’s happening. Watching the output hold 48V and the input current rise as the dish acquires tells you the whole story in two numbers. When something misbehaves, you know within seconds whether it’s the supply or the dish.
The adjustable versions let you dial the output, which is useful for trimming the voltage to exactly what the dish wants and for spotting a sagging source as the input number falls under load. We used one to diagnose a weak house bank that looked fine at rest but dropped hard the moment the dish started up. No guessing, no swapping parts. If you like understanding your system, this is the converter to buy.
Liked: live volts and amps, adjustable output, easy diagnosis. Catch: one more thing in the case that can fail, and you pay a bit more. For anyone tuning an off-grid rig, it’s money well spent.
See converters with displays on Amazon →
4. Waterproof Converter
If the converter lives in an engine bay, a bilge, a locker, or anywhere splash reaches it, a potted, sealed unit is the only sensible choice. These are fully encased, often rated IP67-ish, with the electronics sealed against moisture. A bare circuit board in a damp space is a short waiting to happen.
Sealed does not mean cool, though. A potted case holds heat in, so even a waterproof converter wants airflow around it and mounting off the floor of a compartment where hot air collects. Mount it so water drains away rather than pooling against it, and keep it out of direct spray. We’ve had good results with sealed units mounted high and dry on a bulkhead, where they get moving air and never sit in a puddle.
Liked: potted, sealed, survives engine bays and lockers. Catch: sealed cases trap heat, so mount for airflow and drainage anyway. Waterproof protects from water, not from being cooked in a closed box.
Compare waterproof converters on Amazon →
5. Converter + Enclosure Kit
A pre-wired converter in an enclosure is the plug-and-play option: terminals protected, cables sized, everything in a box you mount and connect. It costs more than buying a bare module, but it saves the fiddly part — cutting, crimping, and sealing your own housing — and it looks intentional instead of improvised.
The thing to check is cable gauge. A kit is only as good as the wire it ships with, and a run that’s too thin loses voltage before the converter. Confirm the input and output leads are heavy enough for the current, and if they’re marginal, re-terminate with your own. Also confirm the enclosure has room to breathe; a sealed kit with no vent is fine for a cool location and wrong for a hot one. Match the kit to where it’ll live.
Liked: pre-wired, terminals protected, tidy install. Catch: check the included cable gauge, and don’t assume the enclosure cools well. It’s the fast path for people who’d rather not build a housing by hand.
See converter enclosure kits on Amazon →
Efficiency is where the heat comes from
A converter rated at 92 percent efficiency loses 8 percent of its throughput as heat. On a moderate load that’s a handful of watts, which is fine in open air and a real problem in a sealed box. Lower-efficiency units lose more, which is why a cheap converter often runs hotter than an expensive one of the same rating.
That heat is why mounting matters as much as the spec sheet. Put the converter where air moves, avoid stacking it against insulation, and give the heatsink a clear path to cooler air. If you’re building a sealed enclosure anyway, add a small vent or a fan rather than trapping the losses inside. The converter you never notice running cool is the one that lasts.
Cold-start headroom is not optional
Lithium and lead-acid banks both sag in the cold, just as the dish is drawing its biggest surge. That combination is exactly when an undersized converter fails — the input dips, the converter can’t hold 48V, and the dish never finishes booting. Sizing up gives you margin for both the surge and the sag.
Two habits help. Oversize the converter so it isn’t straining when conditions turn against you, and keep the cable from battery to converter short and heavy so the input stays as high as possible. If you regularly operate below freezing, the 240W class over the 120W is the safer call by a wide margin.
Comparison
| Converter | Best for | Key spec | Watch out |
|---|---|---|---|
| 48V 120W | Single dish, mild climate | 90%+ efficiency | Runs hot at the limit |
| 48V 240W | Cold starts, headroom | Cooler under load | Fuse the input |
| With display | Tuning and diagnosis | Live volts/amps | Extra failure point |
| Waterproof | Engine bays, lockers | Sealed, IP-rated | Heat trapped inside |
| Enclosure kit | Fast, tidy installs | Pre-wired, protected | Cable gauge, venting |
FAQ
Can I run a Standard dish from 12V without an inverter? Yes, with a boost converter that steps 12V up to the dish’s 48V. That skips the double conversion of going AC and back, so more of the battery’s energy reaches the dish instead of turning into heat.
120W or 240W — how do I choose? Pick based on climate and load. A single dish in a mild setting is fine on 120W; anything that sees cold mornings or a heavier load should go 240W for the headroom. Running a converter under its limit is the difference between lasting years and failing early.
Does the converter need a fuse? Always. Fuse the input close to the battery so a fault can’t cook the feed wire. The converter’s own protection is not a substitute for a fuse on the supply side.
Why does my converter run so hot? Usually efficiency losses in a sealed or poorly ventilated spot. Improve airflow, move it out of a hot compartment, and consider a larger unit that isn’t working near its ceiling. Heat is the number one killer of these units.
Our pick
For most Standard-dish DC builds we’d take the 240W step-up converter over the smaller one, for the cold-start margin alone, and mount it where air moves. If the install lives in a damp compartment, step up to a waterproof converter and give it ventilation anyway.
If you’d rather see your system work than guess at it, a converter with a display pays for itself the first time something misbehaves. Whatever you choose, fuse the input and oversize the unit.