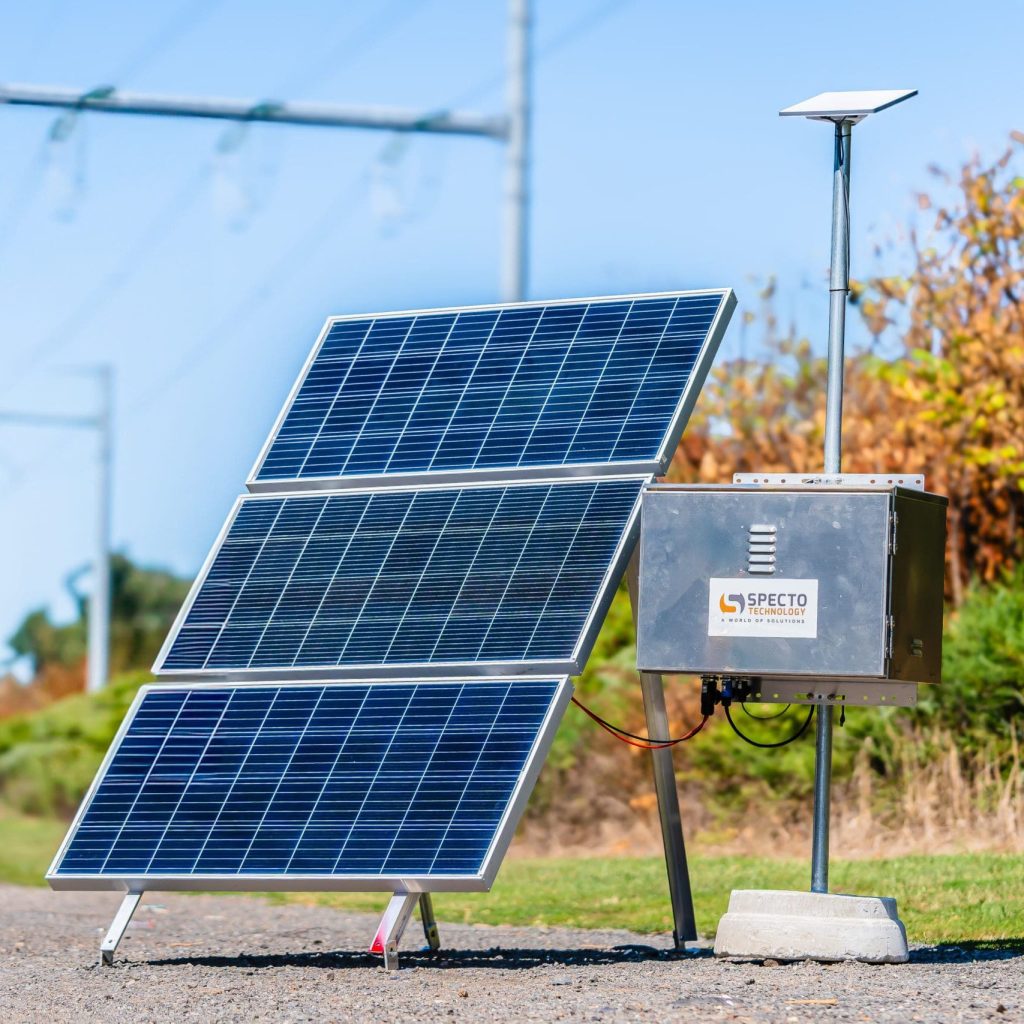
Every Starlink Standard kit ships with a mains power supply, and every owner who wants to run a dish from a battery eventually asks the same question: can I skip the inverter and feed this thing DC directly? The answer is yes, and the aftermarket on Amazon has grown into a genuine ecosystem of third-party converters and PoE injectors designed for exactly that. It has also grown into a minefield of vague listings, wrong voltages, and power ratings that fall apart the moment snow melts. This guide covers the three families of third-party DC power products worth considering for the Gen 3 / Standard 4 generation, the specifications that actually matter, and the safety rules we follow after frying exactly one converter in the name of science.
First, the number that governs everything: the V4 dish and its router expect a 57V DC feed from Starlink’s own supply. Not 48V, not 12V, not “USB-C.” Older generations and some RV-oriented kits describe 48V setups, which is fine for those dishes, but if you own a Standard 4, 4X, or the dish everyone still calls Gen 3, the target is 57V. Any converter that cannot hold 57V under load is not an option, no matter what the title says.
The Three Families of Third-Party DC Power
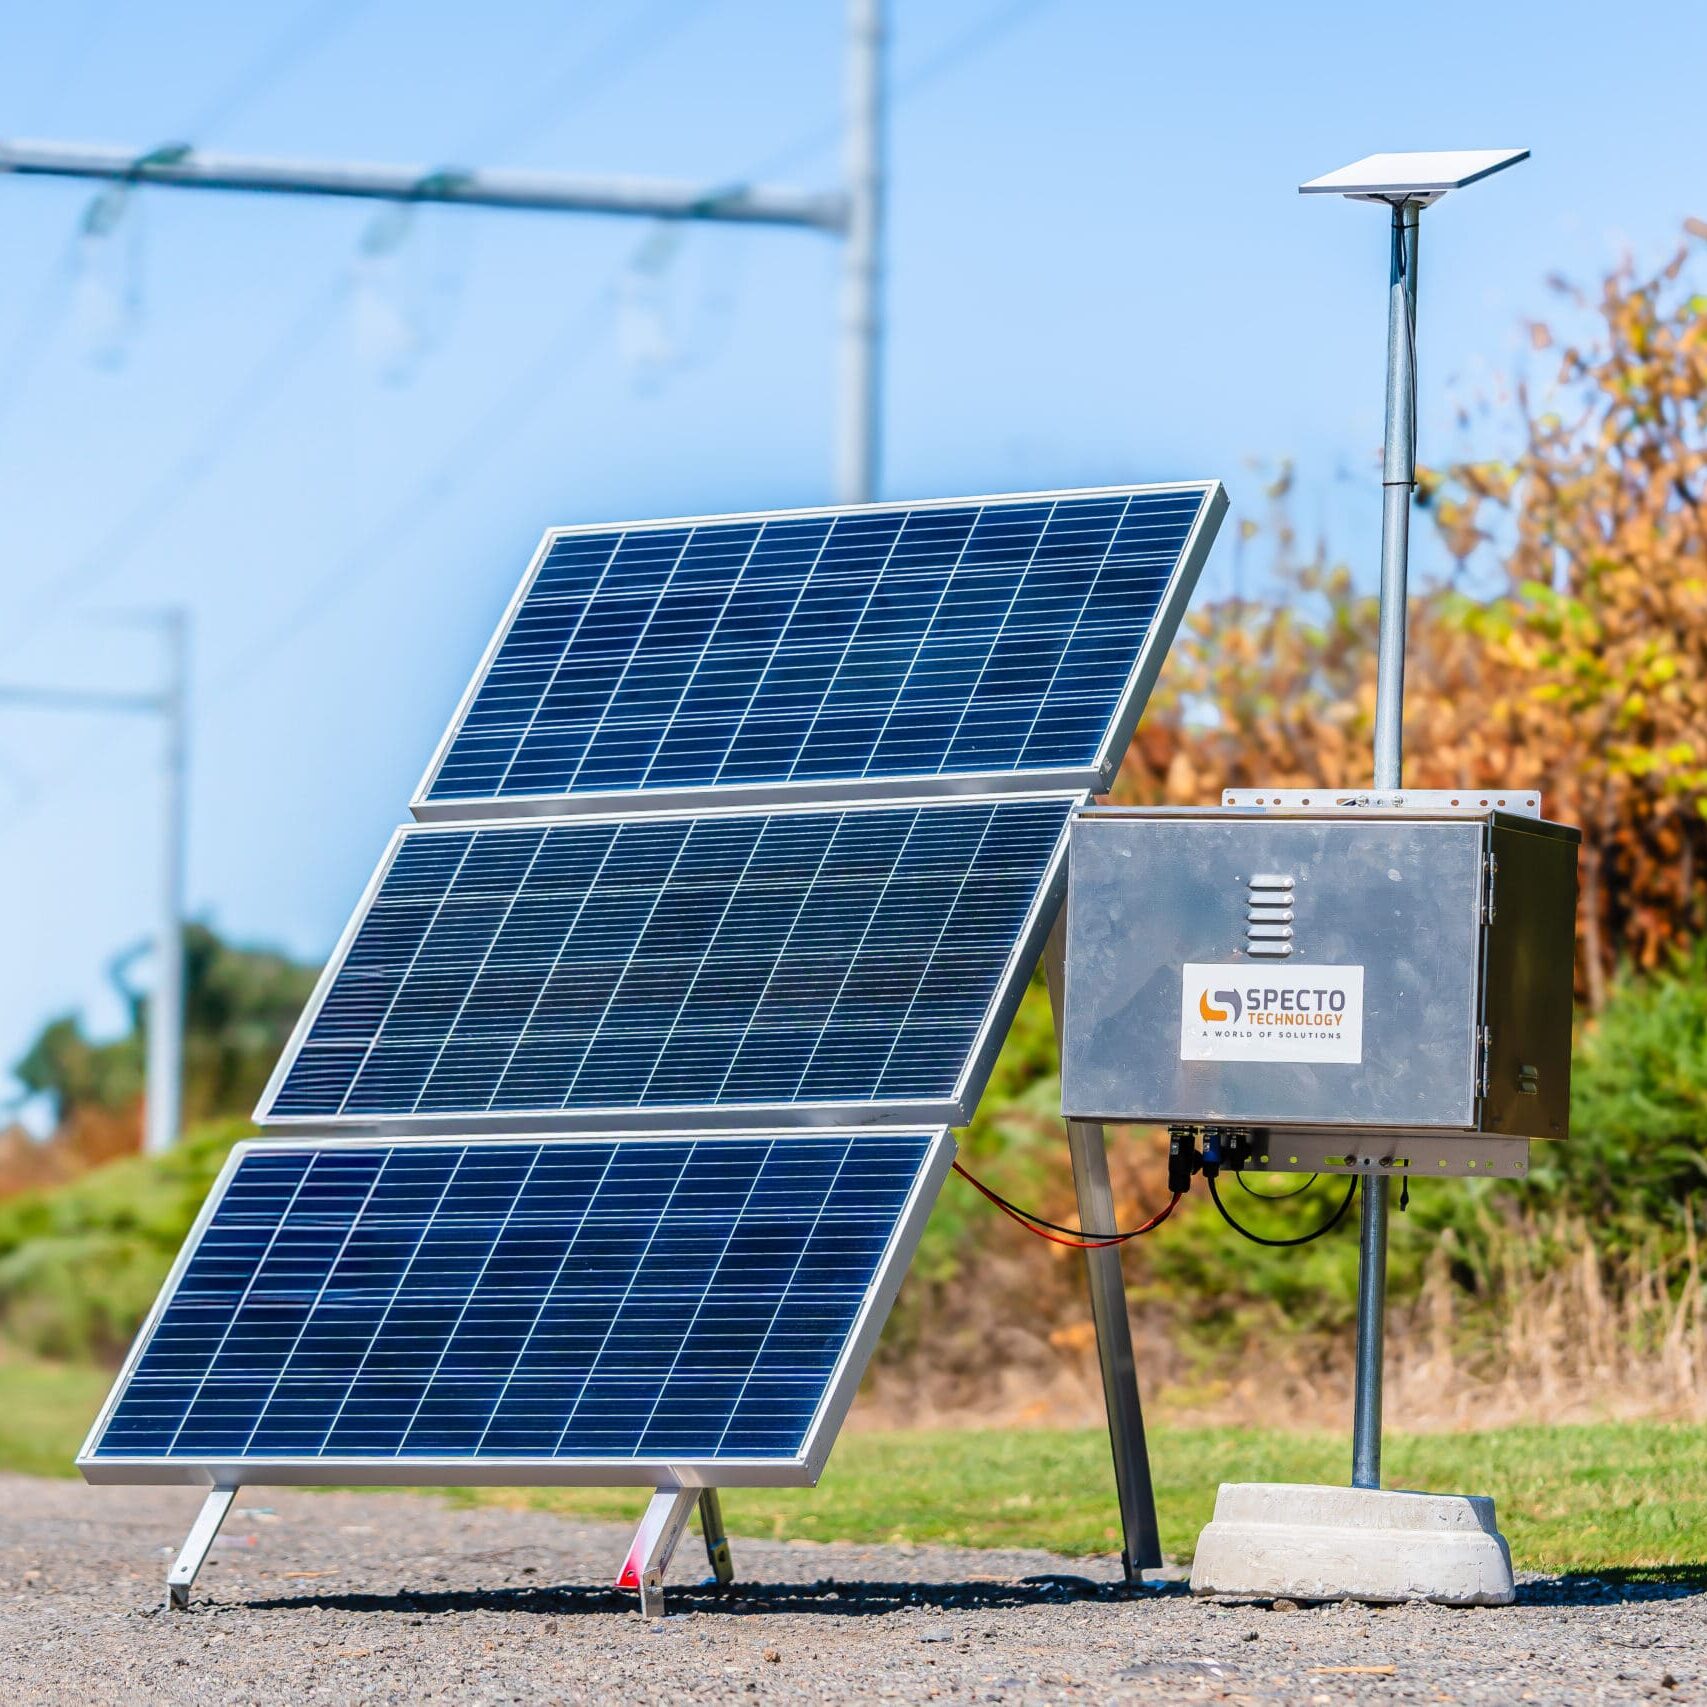
1. Plain 12V/24V-to-57V boost converters. The most common category. A potted aluminum brick with 14AWG input leads and a short output cable terminating in a 5.5 x 2.1mm DC barrel plug with a waterproof gasket, which plugs straight into the router or dish power inlet. The listings cluster into tiers by output current: roughly 57V at 3A (171W), 57V at 4.5A (about 257W), and 57V at 5A (280-285W). Input ranges are usually stated as 9-35V or 10-36V, which happily covers both 12V and 24V house banks. Good units advertise over-current, over-voltage, under-voltage, short-circuit, and thermal protection, and rate the housing IP68 with the die-cast aluminum body doubling as the heat sink.
Which tier do you need? The dish and router together pull well under 100W in normal operation, so a 3A unit has theoretical headroom – but “normal operation” is the key phrase. Snow melt is the exception, and it is not small: Starlink’s own documentation and community measurements regularly show winter draw multiples of the summer baseline, and one vendor’s own listing warns that cigarette-lighter inputs must be able to supply 10A or more because of it. If you live somewhere the dish will ever heat itself, buy the 4.5A or 5A tier. The price difference is trivial next to replacing a converter that failed on a February morning – or the dish it was feeding.
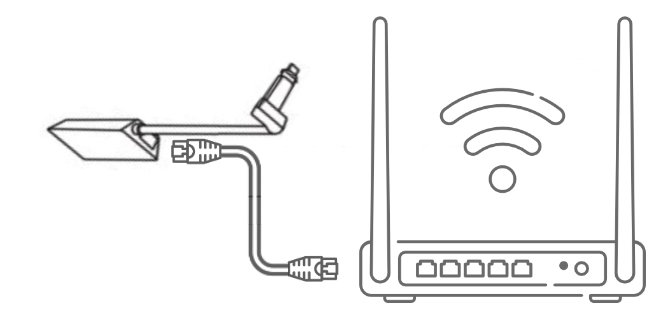
2. 5-in-1 PoE injector units. A newer category, and the most elegant for fixed installs. These deliver power and data to the dish over the single existing cable: a Gigabit Ethernet port, a PoE output rated around 57V/3A, plus bonus outputs – typically USB-A at 12V/3A, USB-C at 5V/3A, and a 3-pin DC header – all fed by a wide DC input of roughly 9-36V, with total capacity around 200W. Weighing a few hundred grams and sized like a paperback, they replace both the mains supply and the separate Ethernet adapter question in one box, which makes them the natural pick for a camper or off-grid cabin where the dish cable runs long and the router sits in a cabinet.
One critical warning here: the PoE pinout used by these Starlink-oriented injectors is a passive, vendor-specific configuration on all eight conductors, not standard IEEE PoE. Do not plug their output into a normal PoE switch, a camera, or anything that expects 802.3af/at negotiation. Treat the output port as Starlink-only, and label it so you do not forget in two years.
3. Anderson-plug DC-DC kits. The caravan and 4WD market has standardized on nice turnkey kits: a converter with a 50A Anderson plug input, a 6-7 meter output cable pre-terminated for the router, and nothing else to figure out. You pay a premium for the plug-and-play packaging, but for anyone whose vehicle already has Anderson wiring, it is the fastest path to a clean install. Check that the kit explicitly names the V4 / Gen 3 / Standard 4 router – several listings are still written for previous generations.
| Product | Best For | Key Features | Price |
|---|---|---|---|
 | Best All-Rounder - 12V to 57V Boost Converter (4.5A) |
| Check Price on Amazon |
 | Best for Fixed Installs - 5-in-1 GigE PoE Injector |
| Check Price on Amazon |
 | Easiest Wiring - Anderson Plug DC-DC Kit |
| Check Price on Amazon |
The Rules That Keep You Out of Trouble
Fuse the input within inches of the battery. Not at the converter, not at the fuse block across the van – at the source. A converter that fails shorted with an unfused 14AWG run to a lithium bank is a fire, not a warranty claim. Vendors ship inline fuses on some kits for exactly this reason; extend that discipline to your own wiring.
Never connect or disconnect the DC output under load. Passive 57V at several amps will arc a barrel connector, and repeated arcing carbonizes the contacts until the dish browns out intermittently – a failure that costs an evening to diagnose and $30 to prevent. Power down at the source, then unplug.
Convert as close to the load as practical. Voltage drop is current times resistance, and at 2-3A the losses in long low-voltage runs add up; more importantly, many converters regulate against their own output terminal, so a 6-meter 18AWG tail between the brick and the dish means the dish sees less than the brick thinks it is supplying. If your cable run must be long, either use a 5-in-1 injector (PoE tolerates longer runs at 57V better than 12V) or move the converter closer and extend the low-current side instead.
Verify polarity and connector size before the first plug-in. The 5.5 x 2.1mm barrel is the Starlink-compatible size, but “5.5mm” listings exist with 2.5mm center pins, and center-positive is not universal across cheap converters. A ten-second check with a multimeter prevents a five-second mistake that kills a router.
Expect the efficiency win to be real but modest. A good DC-DC converter runs around 90 percent efficient; going 12V to mains and back through an inverter and the stock supply costs you two conversions, typically 75-85 percent combined, plus fan noise, heat, and idle draw. Over a winter, that gap is meaningful on a solar budget, but it is not magic – do not expect a converter to halve your consumption.
The Baseline Option Nobody Should Sneer At
If any of the above reads like a project you do not want, the honest recommendation is an inverter plus the stock supply. It is less efficient, it is bulkier, and it makes an audible whine in cheap units – but every part of that chain is UL-listed, warrantied, and proven, and nothing about it risks your dish. Our own test rig ran that way for a full year before we moved to DC, and the only reason we switched was solar headroom, not reliability. For a weekend camper, buy nothing; for a full-time off-grid build, the math justifies one of the kits above. The off-grid sizing guide works through the panel and battery numbers either way.
Quick Answers
Can I use a generic laptop power supply? No. You need a regulated 57V output sized for several amps, and consumer bricks do not come in that spec. This is a job for a purpose-built converter.
Is 48V close enough for a Gen 3 dish? Do not gamble on the generation ambiguity – check your dish’s power inlet labeling and the vendor’s stated compatibility. The V4 generation is fed 57V by its stock supply, and under-volting it invites reboot loops rather than graceful degradation.
Will a converter void my Starlink warranty? It can complicate a hardware claim, yes. Starlink’s own terms expect their power supply in the chain, and third-party DC kits are unaffiliated products. Owners routinely accept that tradeoff for off-grid capability; if warranty peace of mind matters more, inverter plus stock supply is the compliant route.
What about powering the new Router Mini from DC? That is a different and much easier problem – the 2026 revision accepts 9-24V directly, so it wires straight to a fuse block with no converter at all. We covered that in the Standard 4 vs 4X guide.
DC conversion is the single biggest quality-of-life upgrade available to an off-grid Starlink owner, and the third-party hardware on Amazon is now good enough that the official supply spends most of the winter in a drawer. Buy one tier above your calculated need, fuse the input, handle the output connectors with respect – and the dish will run on battery power like it was designed to.